Are you wondering how to transfer files between your iOS device and Mac? Or are you just looking for the fastest way to do it? You came to the right place. In this article, I will explain you different possible ways for transferring your files between your iPhone / iPad and Mac.
As you may have guessed, this can be done wirelessly or using your cable. Using wireless technology to transfer your files may be more convenient and easier to do, but wired transfer offers you quicker transfer and an ability to transfer larger files.
Transferring Files Between iPhone/iPad and Mac wirelessly
AirDrop
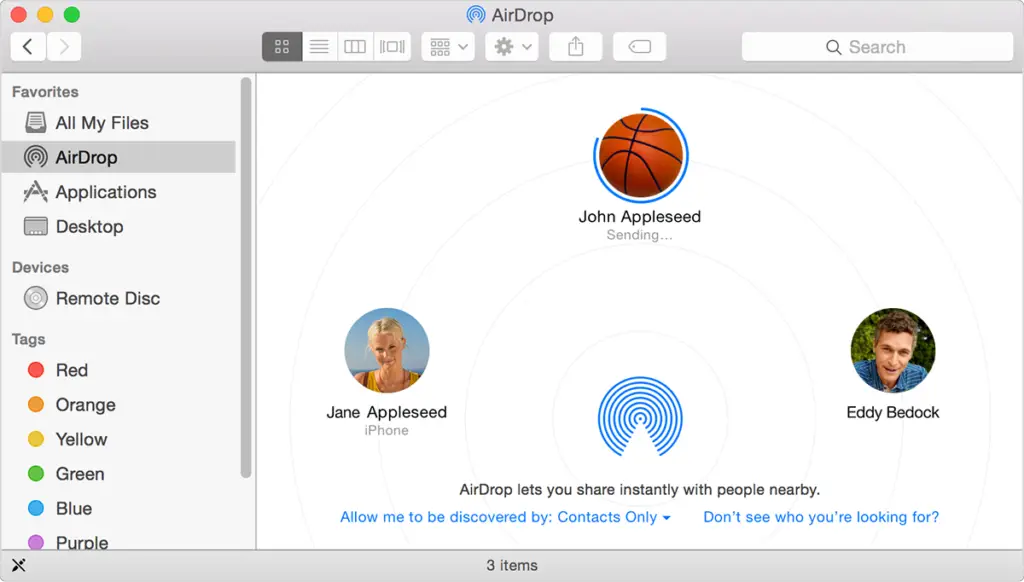
AirDrop is one of the fastest ways to easily transfer content between Apple devices. It initially supported communication between two Macs because, due to differences in technology, communication between iOS and Mac OS X was not possible.

In the latest versions of both operating systems, fast communication between iPads, iPhones, and Macs is possible, even if they are not connected to the same wireless network. AirDrop instantly creates an Ad-Hoc connection between two devices and allows easy content sharing.
To use this method, you must make sure that AirDrop is enabled on both devices. You can find it on Mac via Finder, and you can enable it on iPhone in the control center so that the devices are visible to everyone. After enabling it, you can start transferring files. To share it from your iPhone, select your desired file(s) and click on the Share button and select AirDrop. From there just choose your Mac.
If you are looking for transferring files from Mac, simply drag your file(s) to the iPhone icon while your AirDrop app is opened. The same applies to transferring documents.
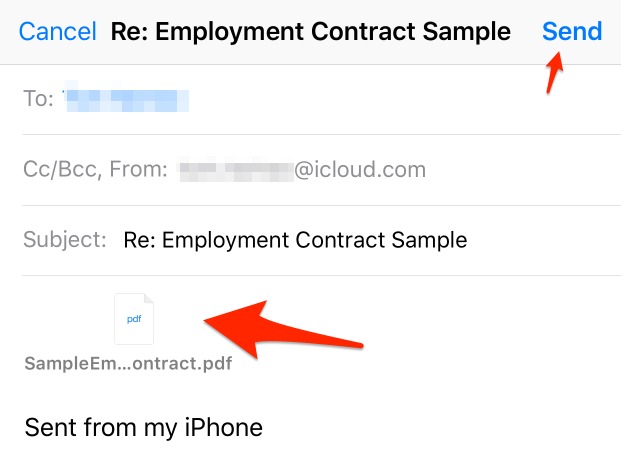
Use email to transfer files between your iPhone / iPad quickly and without any additional software/apps. Simply click on your Mail app while on your iOS device, create a new mail, choose the files you want to transfer (in the attachment) and select recipient (just send an email to yourself). After you’ve sent it, go to your Mail app on Mac and refresh your mail inbox. You should receive your email (and files in attachment) within few minutes. This may take longer than expected if you’ve sent large files.

Depending on the file type, you may or may not be able to open files on your device. Not all files are supported, which may be the biggest downside of this method. Also, be sure to do this when you’re on a Wi-Fi network if you are sending larger files (to save your cellular data).
Google Drive, Dropbox, and other cloud services
Cloud services are made to work on every newer device that is connected to the internet. All these cloud services work very similarly. You will need to create an account and you will get few GB of free space on your virtual (cloud) disk. To transfer files on Mac, simply drag your desired files and add it to your virtual free space. If you are using your iOS device, simply click on add new item when you are in the app. When it says it’s done uploading, your files should be available on any device where you are logged in.
To access files on your iOS device, simply download an app in the App Store (Google Drive, Dropbox or any other cloud service you wish to use). If you are using your Mac, simply log in the browser version of these cloud services or download an app for it.
iCloud
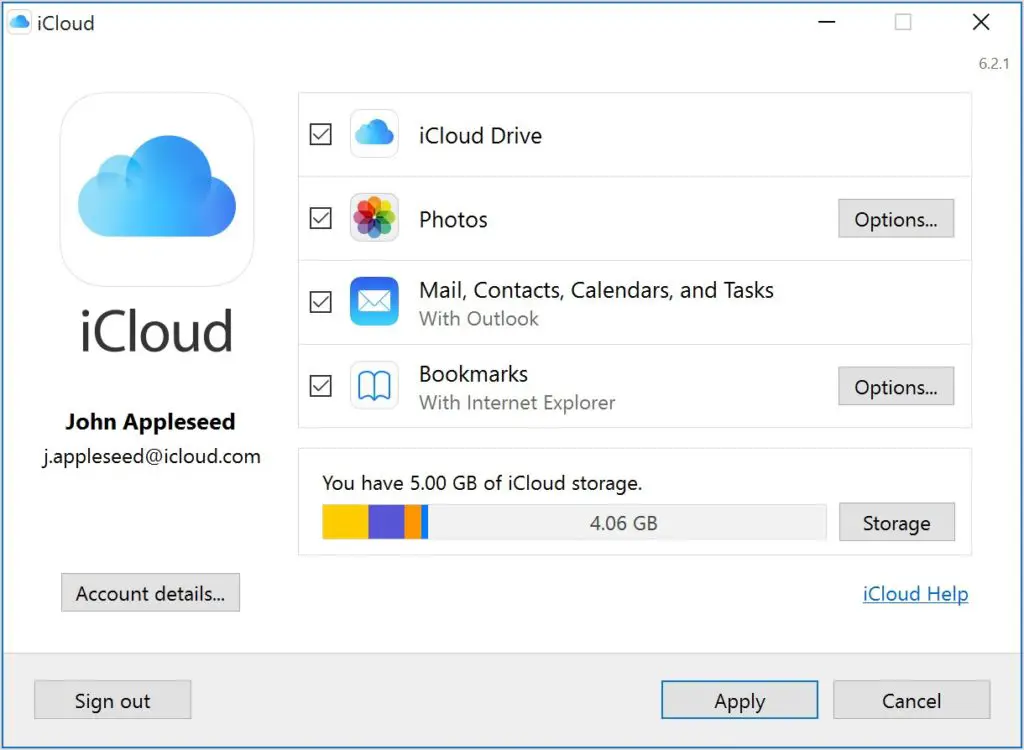
iCloud Drive is slightly different from the previously mentioned cloud services. It stores opened files with multiple apps in different folders. This service allows you to transfer all of your files between your iDevices and create multiple folders in it. It’s just like a physical drive which you can access from everywhere.

To transfer files from Mac to this drive, go to your iCloud Drive folder and simply add your desired files there. If you are looking to add files from your iPhone or iPad, simply open up the iCloud Drive app, tap the file you wish to transfer and click on Share button. Also, you can open the App that supports your desired file(s) and choose to Share it to your iCloud Drive from there.
Transferring Files Between iPhone/iPad and Mac using cable
iTunes
This is the most traditional way of transferring files between iPhone / iPad and Mac. You will just need to plug your Lightning cable into your Mac’s USB port and Lightning port on your iOS device to connect them. Now run your iTunes app on your Mac and you should see that your device is connected. To see what’s on your device, click on the little phone icon located on the upper right side of the window.

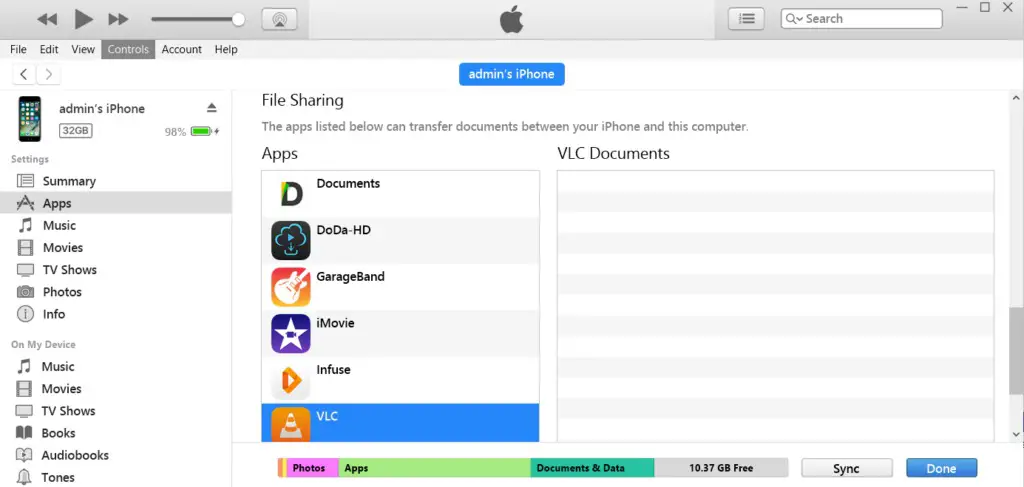
You can transfer a different kind of files via iTunes. While in your Device overview, select the type of file you wish to transfer on your right side of the screen. If you are transferring app-specific file types, choose Apps and select the preferred App. From there simply drag your files from your Mac drive to iTunes window and the file transfer will start. For example, you can save a video to the VLC app’s local storage by selecting it from the app list and dragging video files into the VLC Documents section.
If your plan was to transfer files from your iOS device to Mac, you will see files that can be transferred in App section while in iTunes. Simply choose the App that stored (or supports) the desired file type and open its documents. When you find the file(s) you wish to transfer, just drag them to your Mac.
Third-party apps
There is also an option to transfer your file(s) using third-party apps. They work similar to iTunes, you simply have to drag your files either from your Mac or to your Mac based on what do you wish to do. Some of the more popular solutions are Syncios, iFunBox, and WALTR. These kinds of apps usually have limited functionality in their free versions but can still be useful for casual users. However, full versions of this software will cost you about 30 USD.
About Author:
I’m Daniel Nguyen and I’m blogging over at iPhonebyte.com, a blog about iOS tips, tutorials and app reviews. I’ve been passionate about Apple ever since I bought my first iPhone in 2011. I currently own a MacBook Pro Retina, an iPad Mini Retina, and an iPhone 7.
