Blogging has become an integral part of the online world, and millions of bloggers create content daily. Whether you’re a professional blogger or just starting, having the right tools can make all the difference in your success.
This article examines some of the best blogging apps available to help you streamline your workflow, improve productivity, and create better content. So, if you’re a blogger looking to improve your blogging game, be sure to read on!
List of Best Android & iPhone Apps for Bloggers
1. WordPress
If you are using WordPress, The WordPress app is a powerful tool that allows users to create and manage their WordPress blog from their mobile device. With this app, bloggers can write and publish posts, upload images, and manage blog comments, all from the convenience of their smartphone or tablet.
It is available for iOS and Android devices and offers a user-friendly interface that is easy to navigate. With the app, bloggers can quickly respond to comments and engage with their readers, helping to build a loyal following.
Download from Google Play Store | Apple App Store
2. Blogger
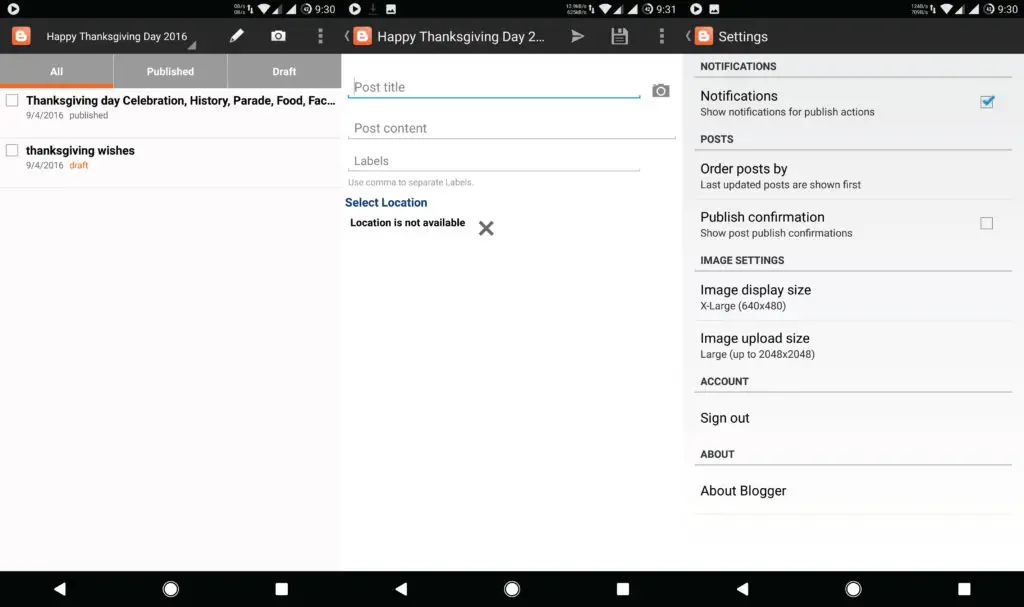
Blogger is a popular blogging platform that allows users to create and manage their own blogs for free. The Blogger app for mobile devices is a great tool for bloggers who want to manage their blogs on the go.
With the Blogger app, users can easily create new posts, edit existing ones, and upload images and videos directly from their smartphone or tablet. The app also allows users to view and respond to comments from their readers, making it easy to engage with their audience.
One of the app’s best features is its user-friendly interface, which makes it easy for bloggers to navigate and use. The app is available only for Android devices.
Download from Google Play Store
3. Gmail
Gmail is a popular email application used by millions of people worldwide. The app is available on Android and iOS devices. It offers a user-friendly interface, customizable settings, and features such as spam protection, automatic email filtering, and more.
Overall, Gmail is a reliable and efficient email app that offers users a seamless email management experience.
Download from Google Play Store | Apple App Store
4. Grammarly
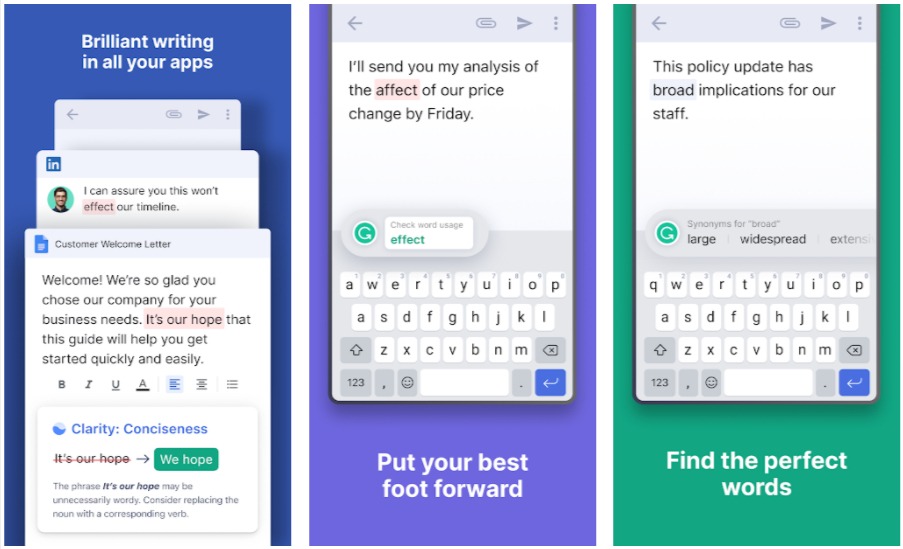
Grammarly is a one of the best writing assistant tool that helps you improve your writing skills. It is designed to catch grammar, spelling, and punctuation errors and offer suggestions for improving sentence structure and word choice. The app analyzes your text and provides real-time suggestions for corrections and improvements. It can be used for various writing tasks, from emails and social media posts to blogs and articles.
We at techrrival.com have been using Grammarly Premium since 2019.
Download from Google Play Store | Apple App Store
5. Canva

Canva is an easy-to-use graphic design app that allows anyone to create professional-looking designs, even without prior design experience. With a wide range of templates, images, fonts, and design elements, Canva makes creating everything from social media graphics to presentations to marketing materials easy.
The app’s intuitive drag-and-drop interface and straightforward design tools make it accessible and user-friendly, while its powerful features allow for advanced customization and design flexibility. Overall, Canva is a versatile and effective app for anyone looking to create high-quality designs quickly and easily.
Download from Google Play Store | Apple App Store
6. Microsoft 365
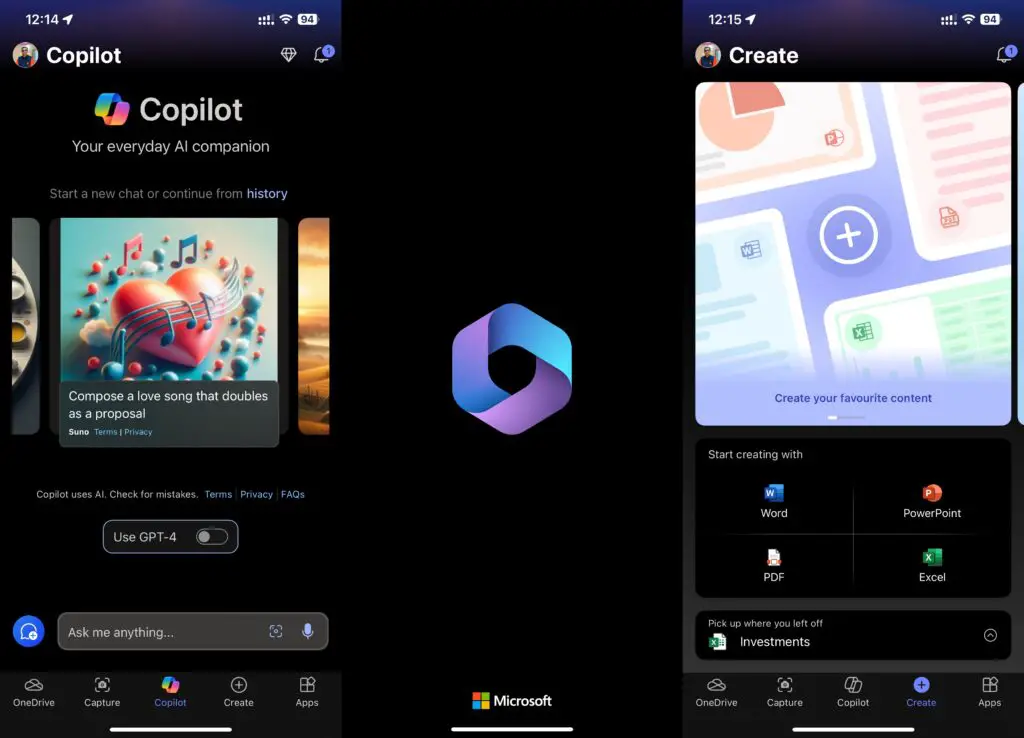
Microsoft 365 is a powerful suite of productivity apps that includes Word, Excel, PowerPoint, and more. Users can access and edit their documents from anywhere and collaborate with others in real-time. The app’s intuitive interface and touch-optimized design make it easy to navigate and use on a small screen. At the same time, its robust feature set ensures that users have access to all the tools they need to create and edit professional-quality documents.
From creating spreadsheets to giving presentations on the go, the Microsoft 365 smartphone app is a must-have for anyone who needs to stay productive while on the move. It also now integrates CoPilot with Chat GPT, OneDrive and other integrations.
Download from Google Play Store | Apple App Store
7. Meta Business Suite
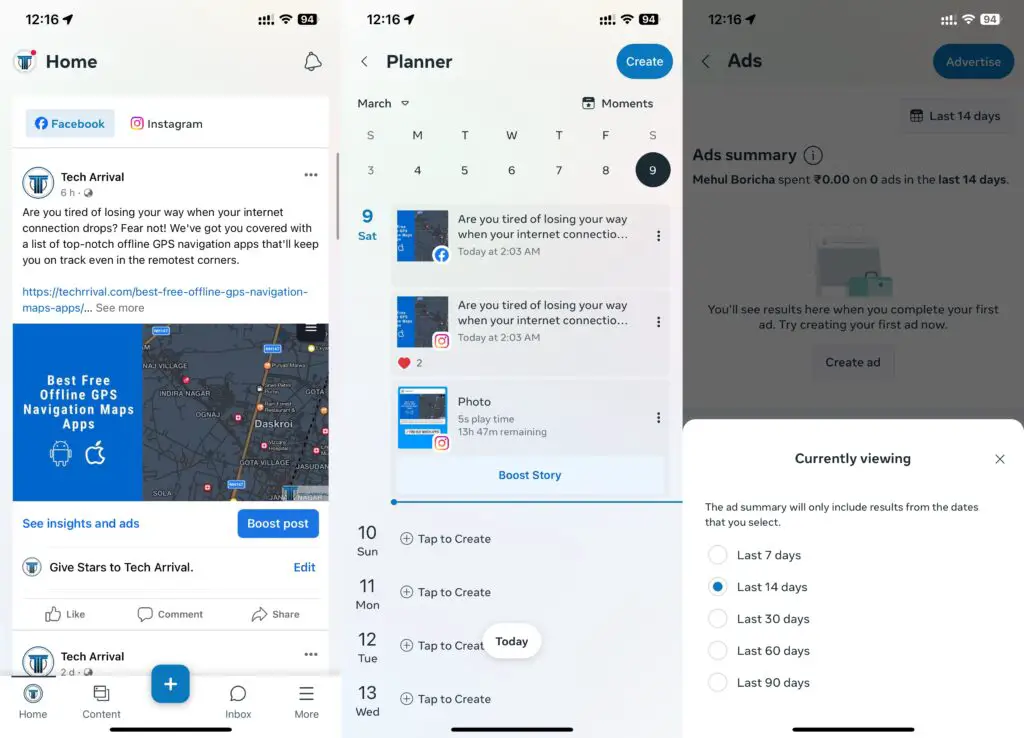
Business Suite is an all-in-one tool that allows you to manage your Facebook and Instagram accounts from one place. With Business Suite, you can create and schedule posts, manage your stories, run ads, respond to comments, and keep track of your notifications.
This makes it easy to stay on top of your social media game and ensure that you are effectively reaching your target audience.
Download from Google Play Store | Apple App Store
8. YouTube Studio
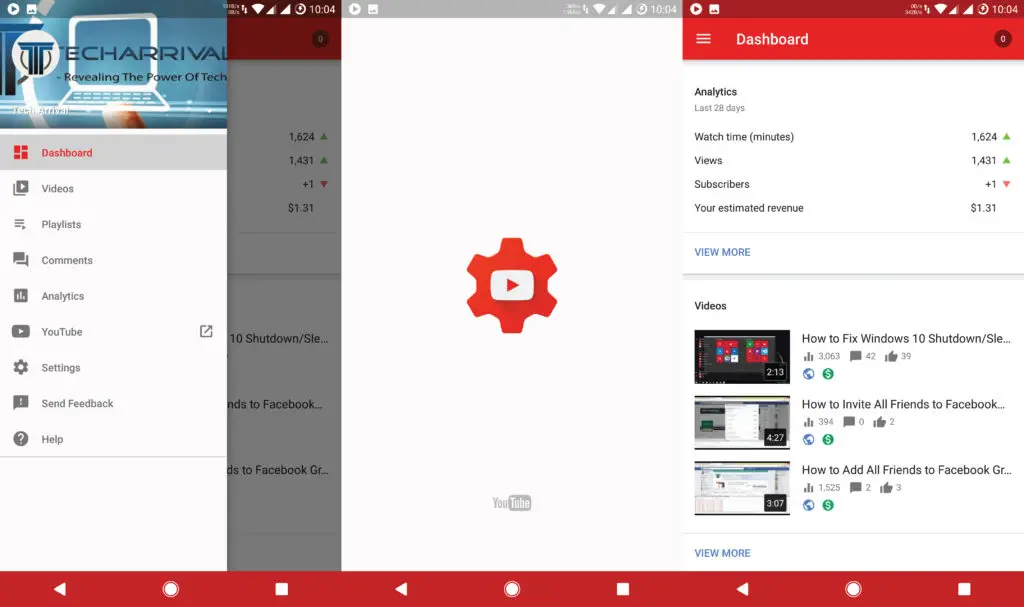
YouTube Studio allows YouTubers to manage their channels on the go. The app’s dashboard provides users with real-time data and analytics, making it easy to track video performance, monitor comments, and respond to subscribers.
The app allows users to upload videos, manage playlists, and edit video details such as titles, descriptions, and tags. YouTube Studio is a must-have app for anyone serious about growing their YouTube channel.
Download from Google Play Store | Apple App Store
9. Social Media Apps (Facebook, X (Twitter), Instagram, LinkedIn)
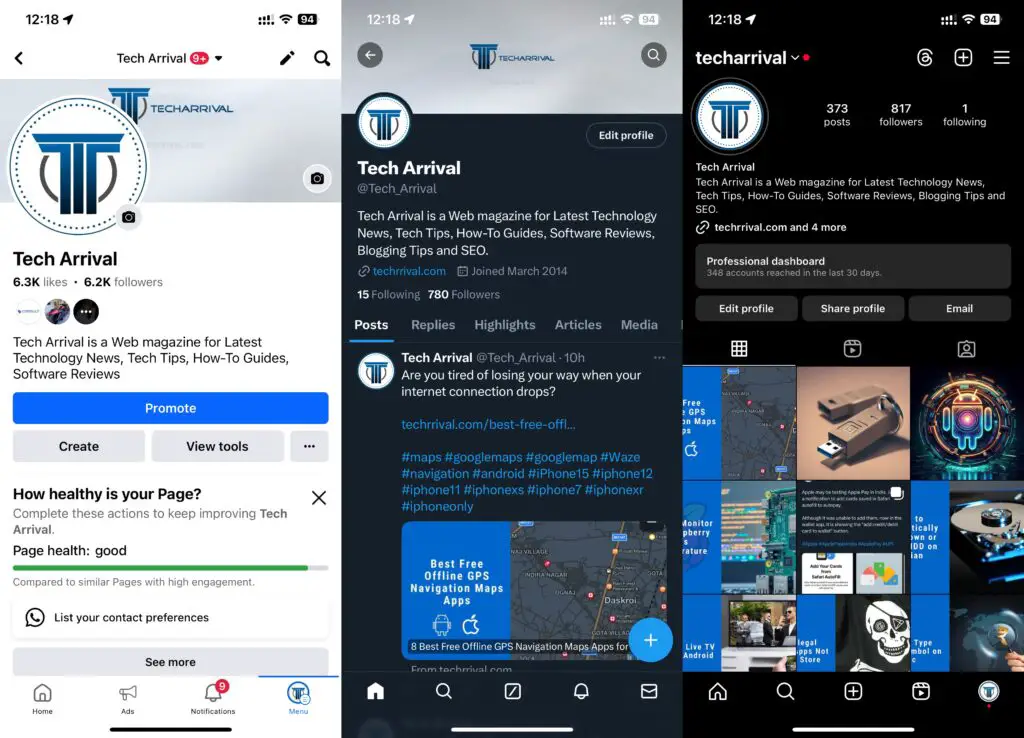
Social media apps like Facebook, Instagram, and X (Twitter) have become essential tools for bloggers to reach and engage with their audience. These platforms allow bloggers to share their content, promote their brand, and connect with their readers in real time.
Having these apps may help you manage your social media handles more effectively.
10. Feedly
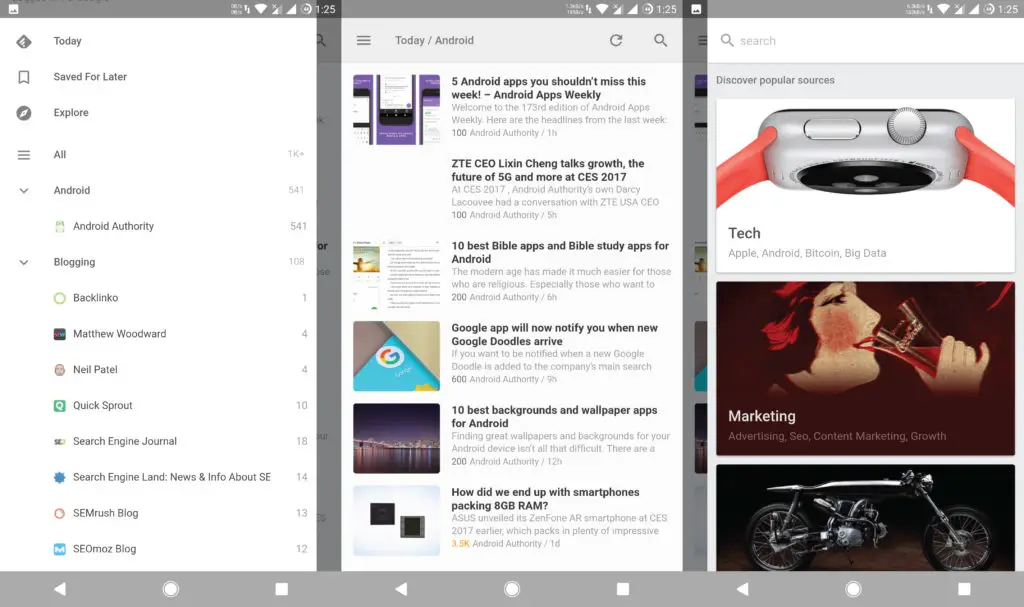
Feedly is a popular RSS reader app that helps bloggers and content creators stay current with the latest news and trends in their industry. Users can subscribe to their favorite blogs and websites, and the app aggregates all the content into one place, making it easy to stay organized and informed.
Feedly also offers various customization features, such as the ability to organize content by topic, mark articles as read or unread, and even share articles directly on social media.
Download from Google Play Store | Apple App Store
11. PayPal
PayPal mobile app is a convenient way to manage your account while on the go, whether you’re sending or receiving money, checking your balance, or monitoring your transactions.
With PayPal, users can send money to friends and family, pay for goods and services online, and even transfer money to their bank account. We usually receive payments & issue invoices via PayPal, which has been very helpful.
Download from Google Play Store | Apple App Store
12. Pocket
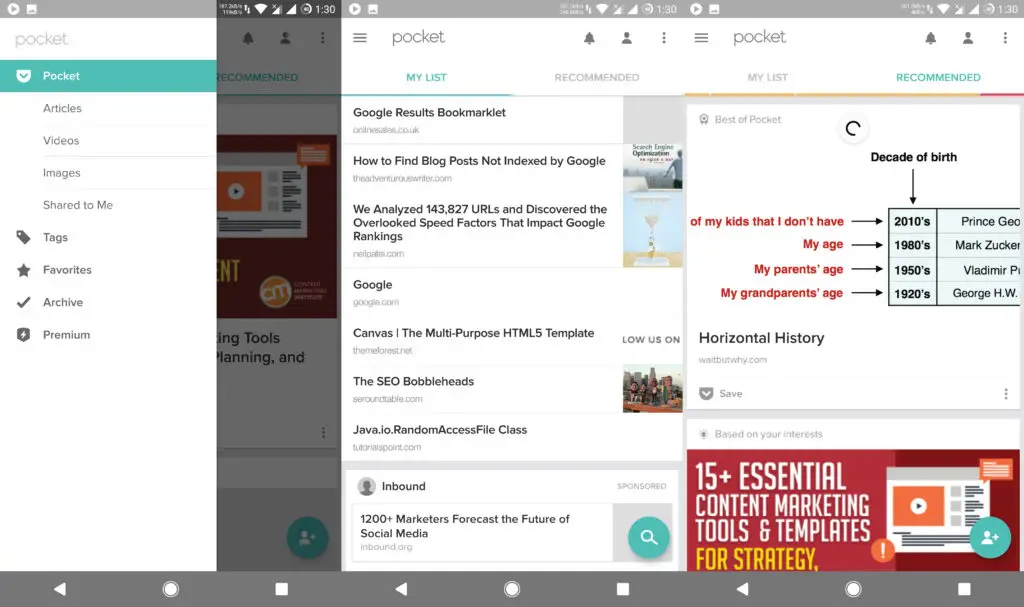
Pocket is a popular app that allows users to save articles, videos, and other content to read or watch later. It is a helpful tool for anyone who wants to keep up with the latest news and information but doesn’t have the time to read or watch it immediately.
You can save content from favorite websites and access it offline, making it perfect for long commutes or flights without Wi-Fi.
Download from Google Play Store | Apple App Store
13. Unsplash
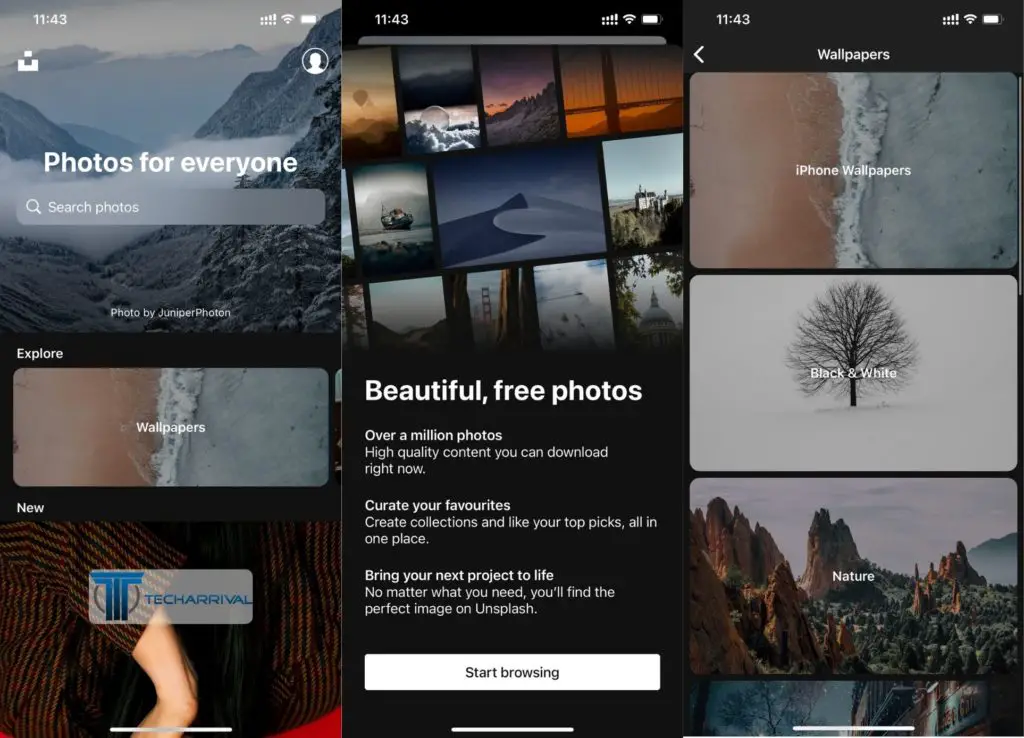
Unsplash is a popular photo-sharing platform and app that offers high-quality, free-to-use images for personal or commercial use. The app has a vast collection of high-quality images that are contributed by a community of skilled photographers from around the world.
Unsplash’s user-friendly interface and powerful search engine make it easy for bloggers to find and download the perfect stock image for their blog articles. It is only available for iOS devices.
Download from Apple App Store
14. WhatsApp Business
WhatsApp Business is designed to help businesses connect with their customers more efficiently. The app provides a range of features that allow businesses to manage their customer interactions, including automated messages, quick replies, and labels to organize chats.
It also allows businesses to create a catalog of their products or services and share them with interested customers.
Download from Google Play Store | Apple App Store
15. Buffer
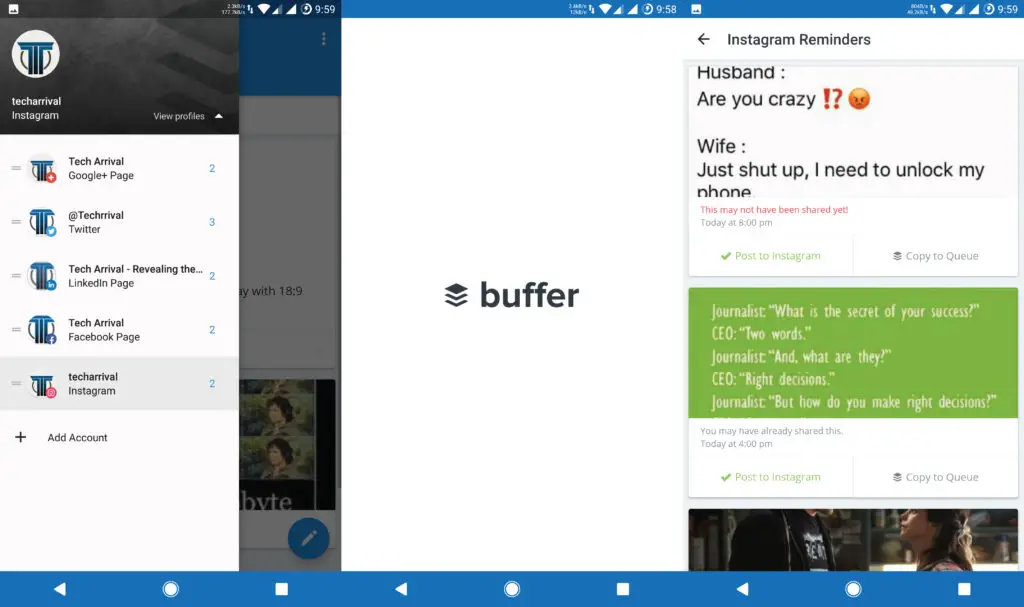
Buffer is a social media management tool that allows users to schedule and publish content across multiple social media platforms. It provides a centralized platform for all social media accounts, simplifying the process of creating, publishing, and analyzing social media content.
Buffer is an excellent tool for businesses, bloggers, and social media managers looking to streamline their marketing efforts and save time.
Download from Google Play Store | Apple App Store
In conclusion, these are just a few mobile apps available to bloggers to help streamline their workflow, improve productivity, and create better content. Whether you’re a seasoned blogger or just starting, these apps will help you take your blogging game to the next level. Give them a try and see how they can benefit your blogging journey. Happy blogging!
Frequently Asked Questions (FAQs)
Can we do blogging with just a smartphone?
Yes, creating and managing a blog is possible using just a smartphone. With the availability of various mobile apps we mentioned earlier, blogging on the go has become easier than ever. However, while a smartphone can be a great tool for blogging, it may not be the ideal option for everyone. Having a computer is always easier for some tasks, especially writing long blog posts.
What platform do most bloggers use?
WordPress is the most popular blogging platform. It powers more than 40% of all websites on the Internet, including many popular blogs and news sites. Other popular blogging platforms include Blogger, Tumblr, Medium, and Wix, each with its own unique features and benefits.

Hello Mehul,
I really liked the list you have shared. It simply consists of all the major apps ( leading of its category) that any blogger must install.
Thanks for sharing!
Hello Milind,
Personally, I don’t like the WordPress app that much. I directly log in to my WP sites using browser!
:)
Hi Mehul, being a WordPress blog owner, I think my first choice should be WordPress app for Android, but so far I know that the app doesn’t still work on Android device! Is it right?
However, I tested WordPress on my Android phone around a year back and don’t know what’s the condition now as I shifted from Android to Windows mobile platform recently.
If WordPress works on Android now, I must go for Android again, I promise.
Thanks for your in-depth article.