If you have been a Windows user for a long time, you realize how important it is to have a backup of the entire system on a separate disk in case of any failures.
As far as our experience goes, we have usually found ourselves in these OS crashes when there is a major Windows update, or we have messed up some configurations. In any case, a full system backup has always saved us from catastrophic data failures.
Until recently, we were using the Macrium Reflect (Free Version) for our needs, but the free version is not available anymore due to recent changes. We searched for a new free backup software and found MiniTool ShadowMaker, which gets the job done quite well.
Also read: 12 Best File Sharing Apps for Android
Features
- Backup Locations: You can choose whether to backup folders, partitions, or drives.
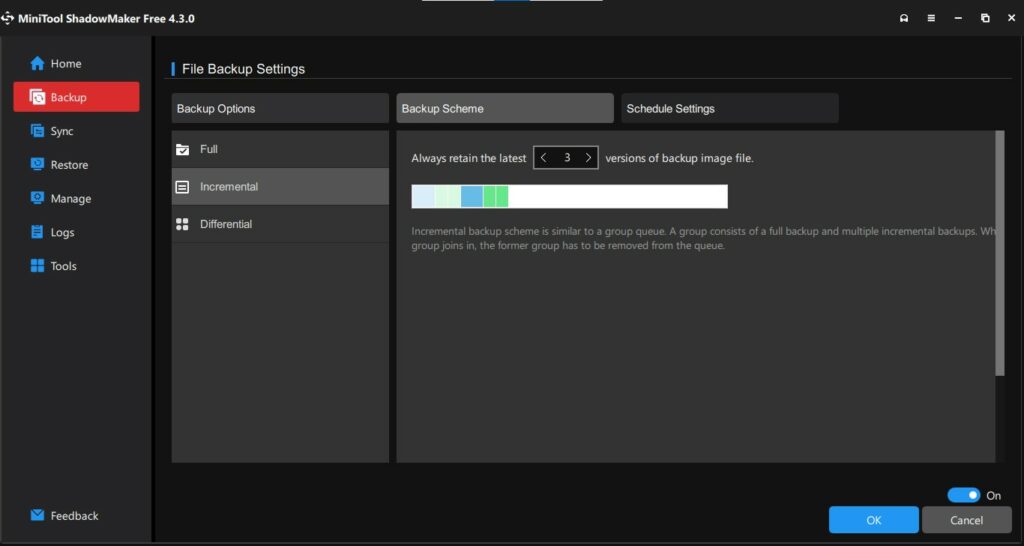
- Backup Schemes: You can select whether to take full, incremental, or differential backups. Selecting incremental backups can save you space and lessen the backup time since only changes are saved in incremental backup. It also means you will have a versioning capability similar to Apple’s Time Machine.
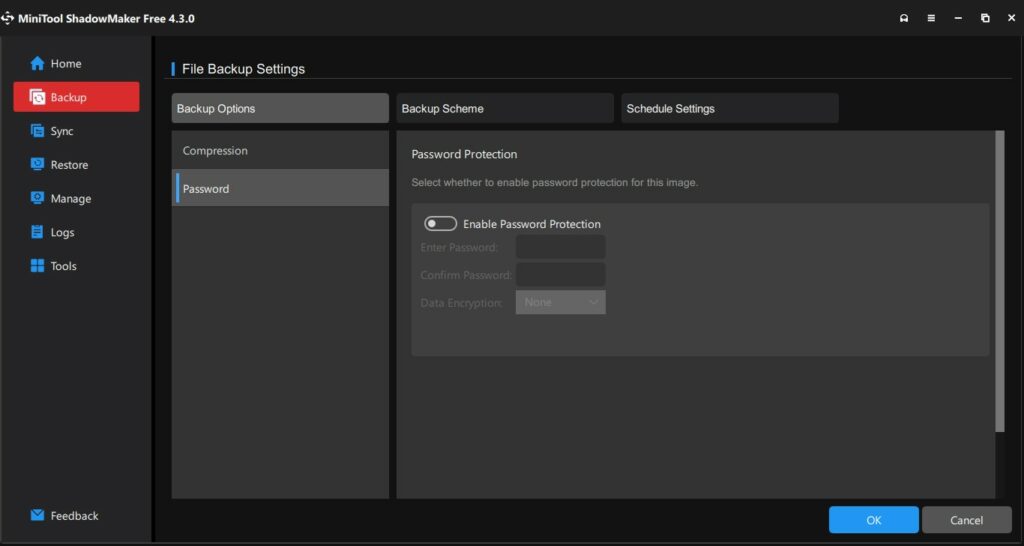
- Encryption: If you are saving your backup on an external drive and are worried about who may restore it and get access to your data, you can select a strong password with the desired cipher.
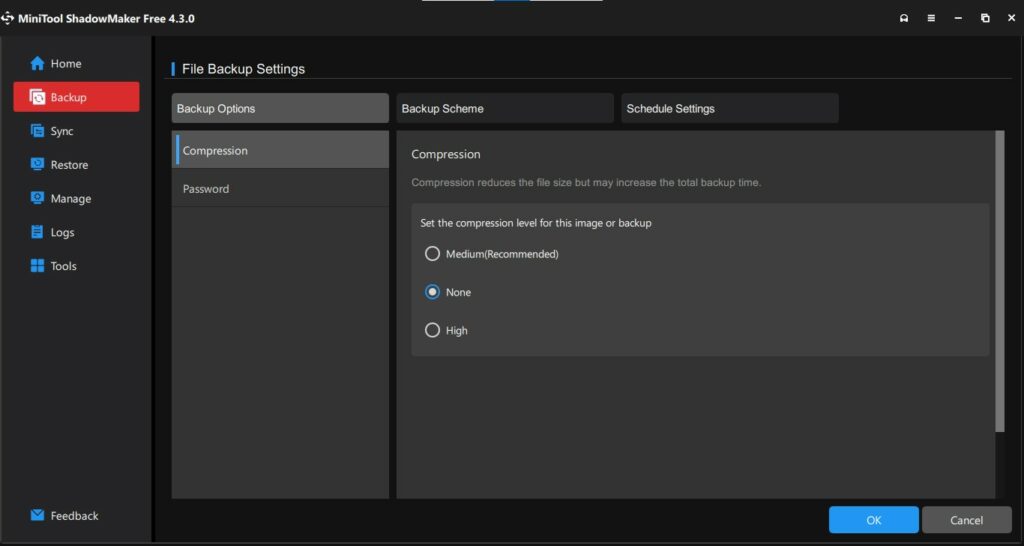
- Compression: This option can be helpful if you are running low on storage or want to save space. But do keep in mind that the higher the compression, the higher the resource usage and sometimes the larger the backup time.
- Schedule: If you want to automate your backups, you can use this option.
- Synchronization: If you have used Linux, you must be aware of the rsync command. If you want to replicate folders/files from one location to another, this feature can help you keep multiple copies of the same data at different locations.
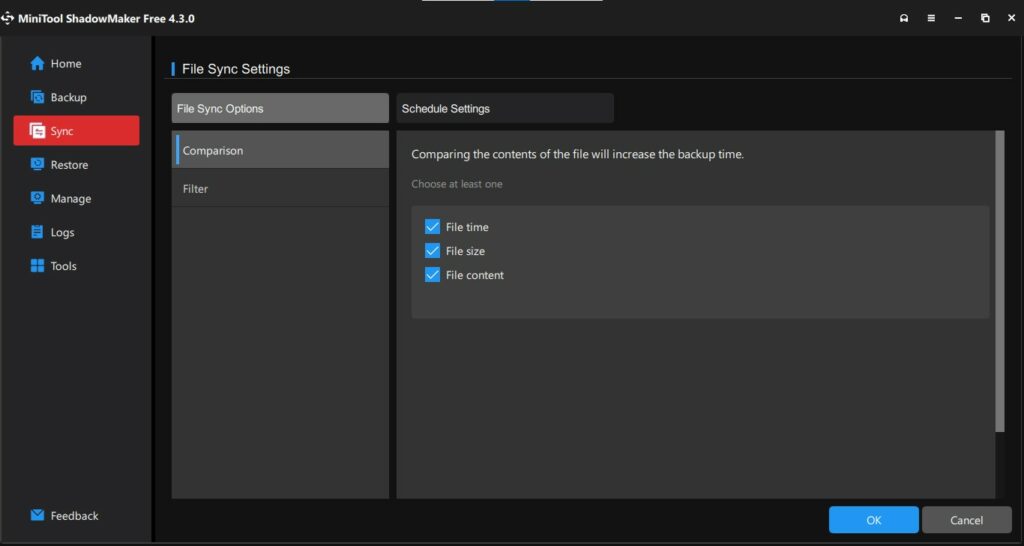
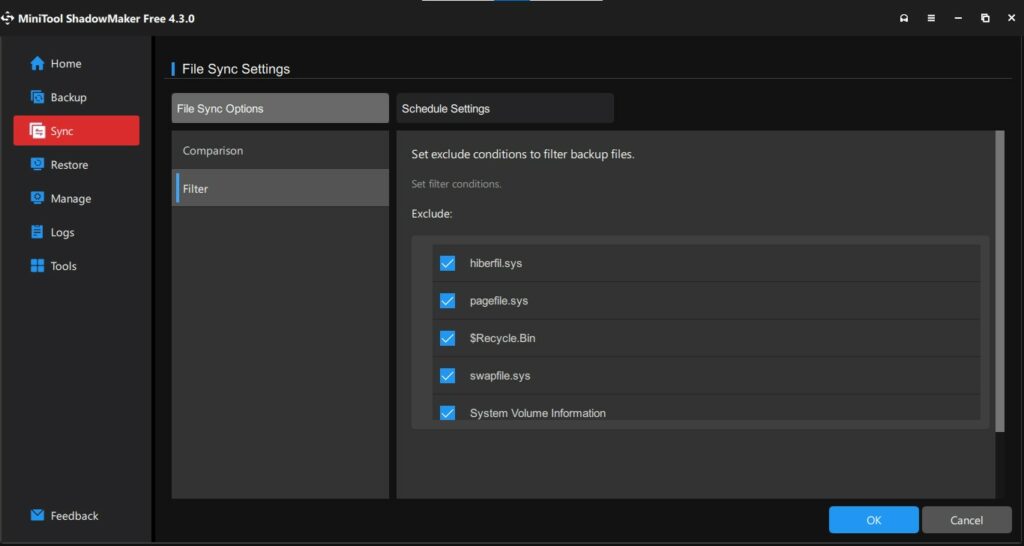
- Synchronization Options: It allows you to compare files using the time, size, and content and filter them to exclude system files.
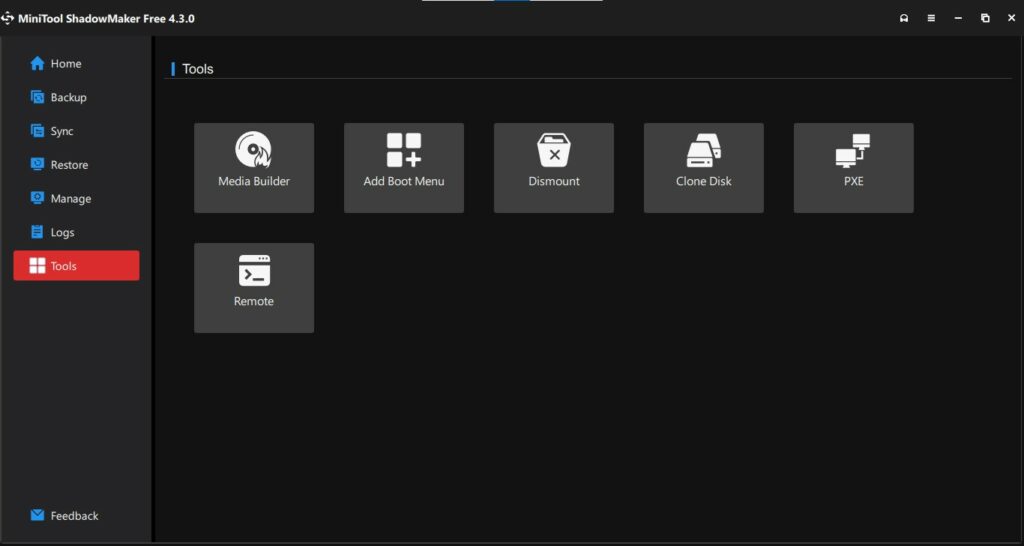
- Media Builder: Create a bootable device to launch this tool via the boot menu while starting the computer to make system recovery easier. You can also save it as an iso image for later burning. It will take approx 700MB of space.
- Boot Menu Addition: If you don’t want to create a separate boot device, add the ShadowMaker directly to the boot menu.
- Disk Cloner: You can clone entire disk using this utility
We have not discussed PXE and Remote features as they are part of the MiniTool ShadowMaker Pro, which is a paid version.
Now, you are well versed in its features. Let’s dive into how to utilize them for the best results.
Installation Process
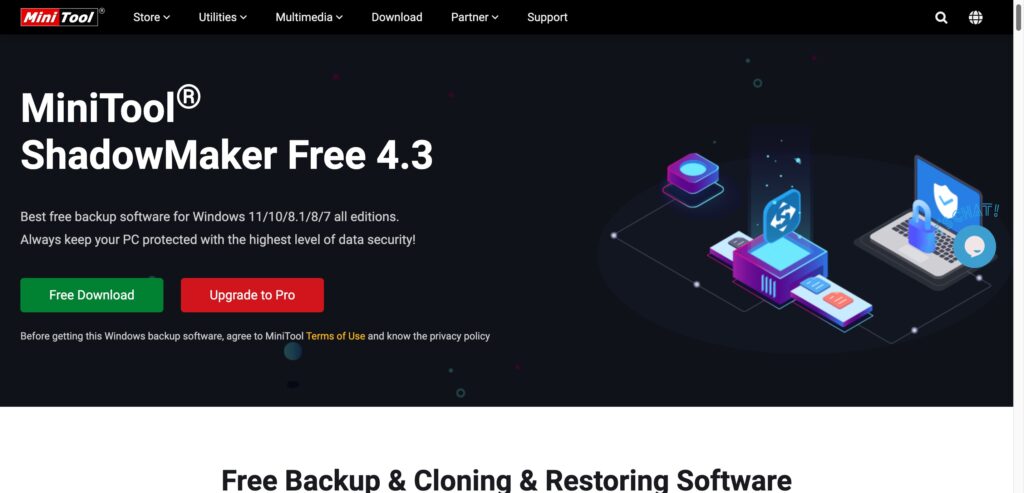
- Go to the official website and download the exe file.
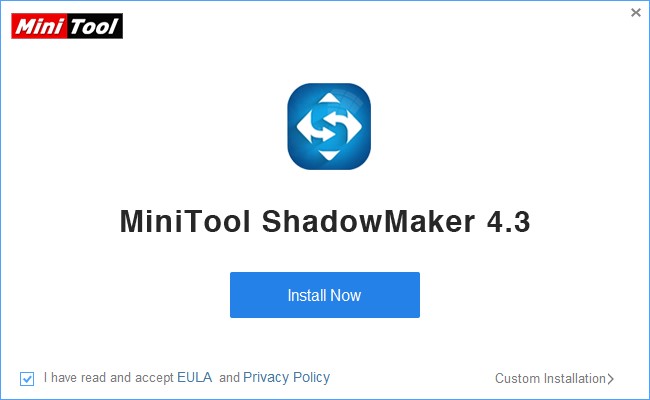
- Double click to open the downloaded file.
- Follow the on-screen instructions and wait for the installation to complete
How to Take Backup using MiniTool ShadowMaker Free
- Open MiniTool ShadowMaker.
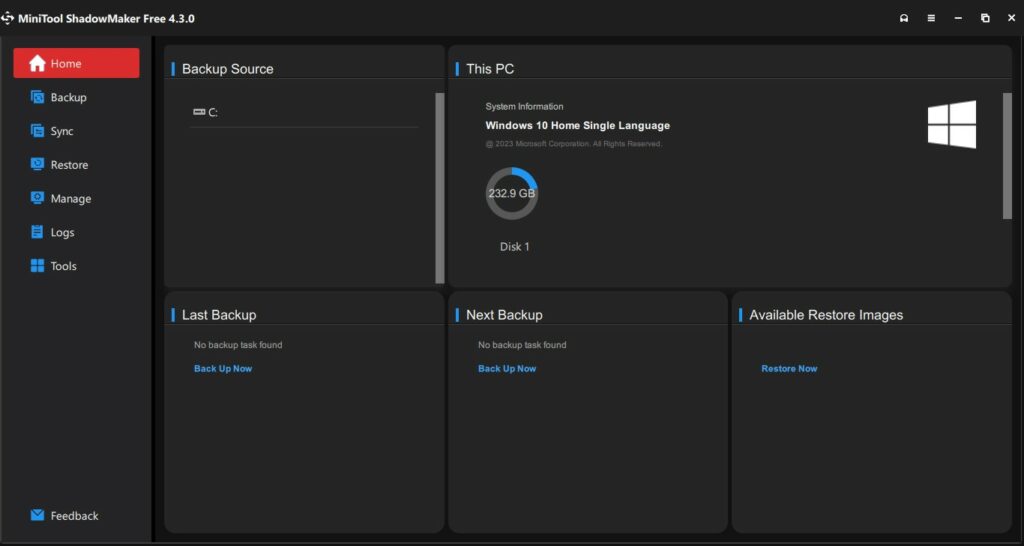
- Navigate to the Backup Section from the Left Pane.
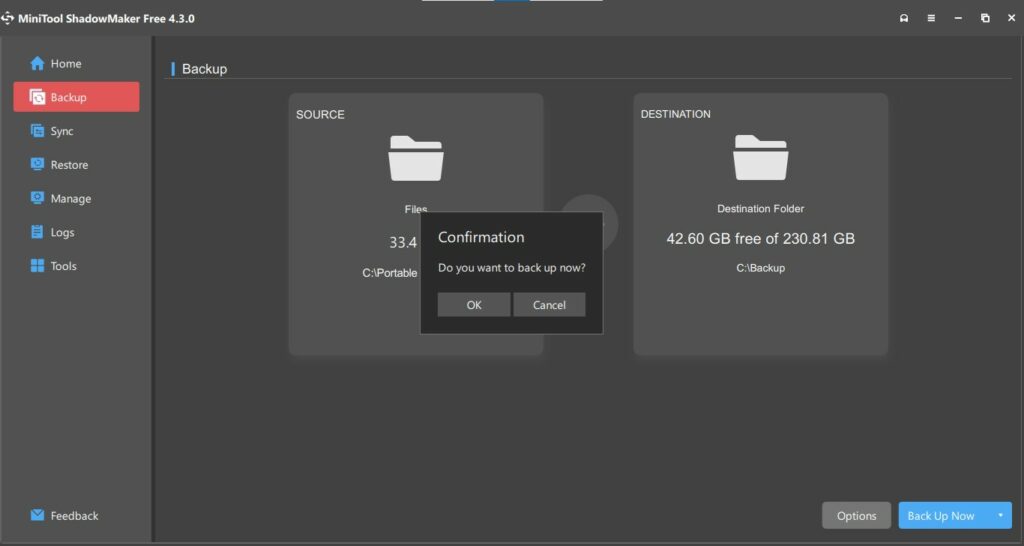
- Click Source and select the Partition or Files that you want to backup. In our case, we are using a folder named “Portable Softwares.” and do the same with Destination, where you want to save your backup.
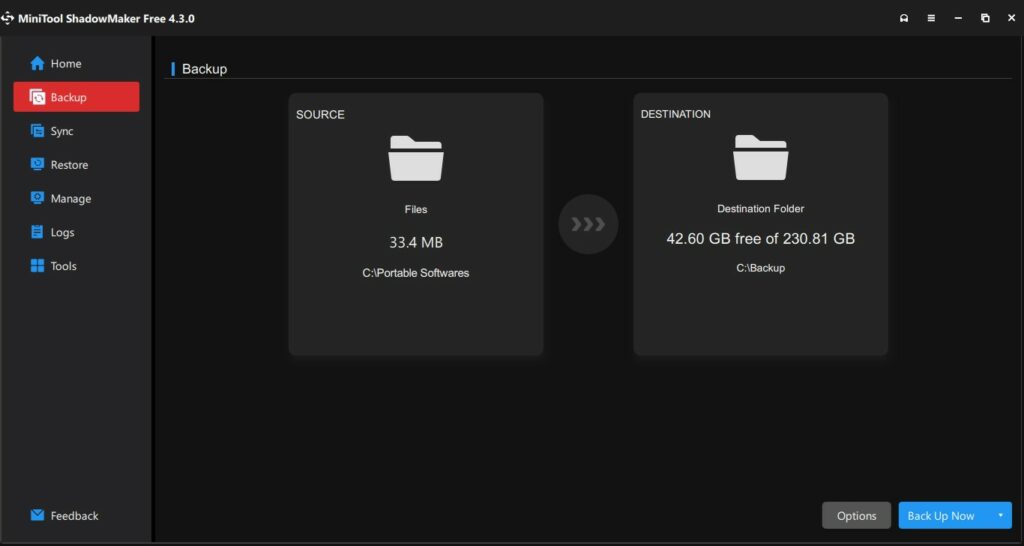
- To customize other options for this backup, click “Options” on the bottom right section.
- Select the Compression Level you want to use. In our case, we are using “None” because it is faster.
- To password-protect this backup, toggle “Enable Password Protection” and set a password and encryption scheme.
- Now go to “Backup Scheme”. Here, you can select from Full, Incremental, and Differential. You can read more about them here. For most users, Incremental will be the best option.
- If you want to Schedule this backup to run at a specific time or interval, select that option accordingly.
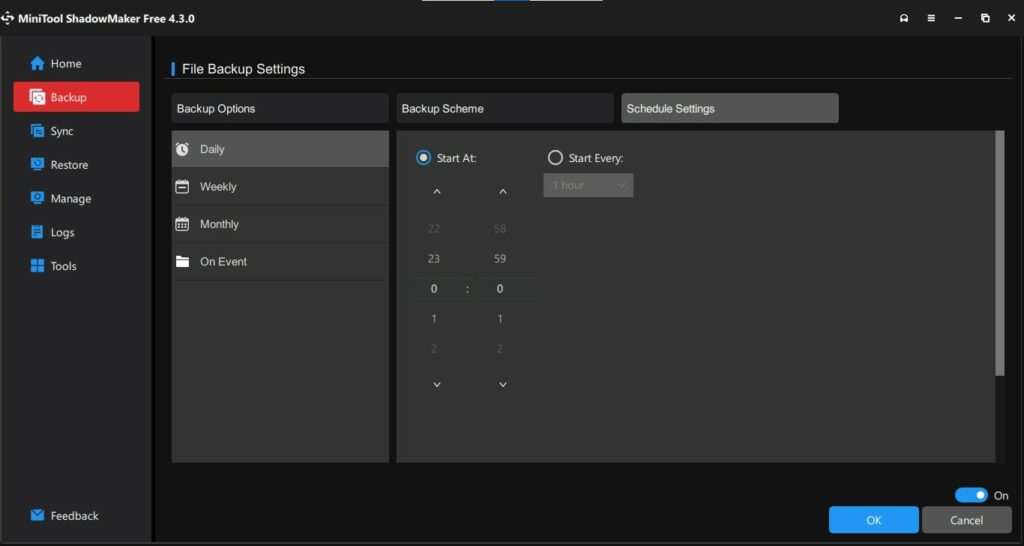
- Once you are done with the Backup Settings, press ok to get back to the main screen and then click “Back Up Now” to start the backup.
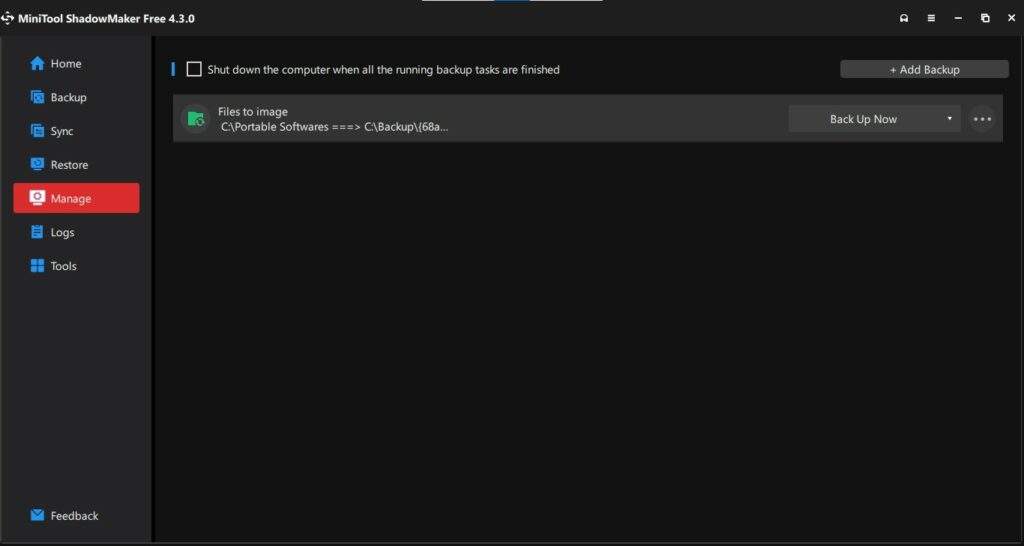
- You can check the backup status in the Manage Section from the left pane.
How to Sync Folders using MiniTool ShadowMaker Free
- Select “Sync” from the left pane.
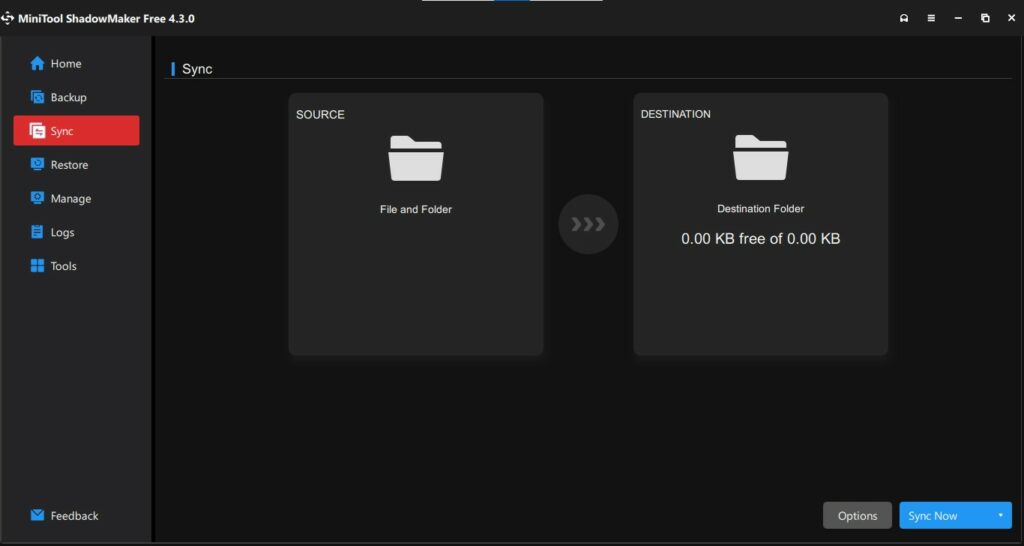
- Select the Source and Destination location as we did earlier. In this case, once the sync is complete, the destination folder will be the replica of the source folder.
- Go to Sync Options by clicking “Options” from the bottom right corner. You can select how the file comparison is done. If you are unsure about the options, leave them be.
- The filter option allows you to skip certain system generated files to save some space. If you want to ignore the default settings, you can uncheck the default filters that are automatically applied.
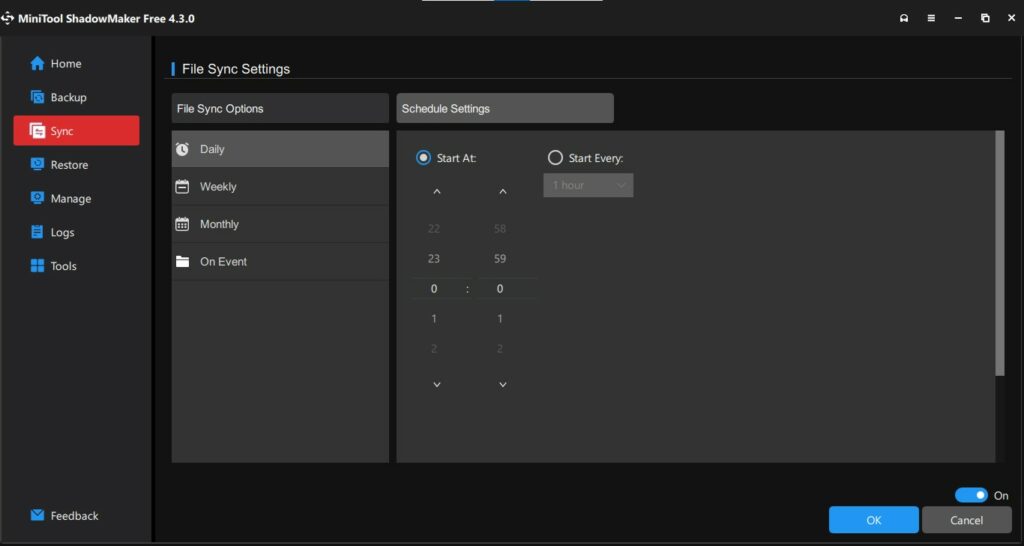
- Use the Schedule option as we did in the above section. Press “OK” and click “Sync Now” to begin the process.
How to Restore Backup using MiniTool ShadowMaker Free
- Select “Restore” from the left pane. There will be a list of completed backups and a “Restore” button beside them. Select the desired one.
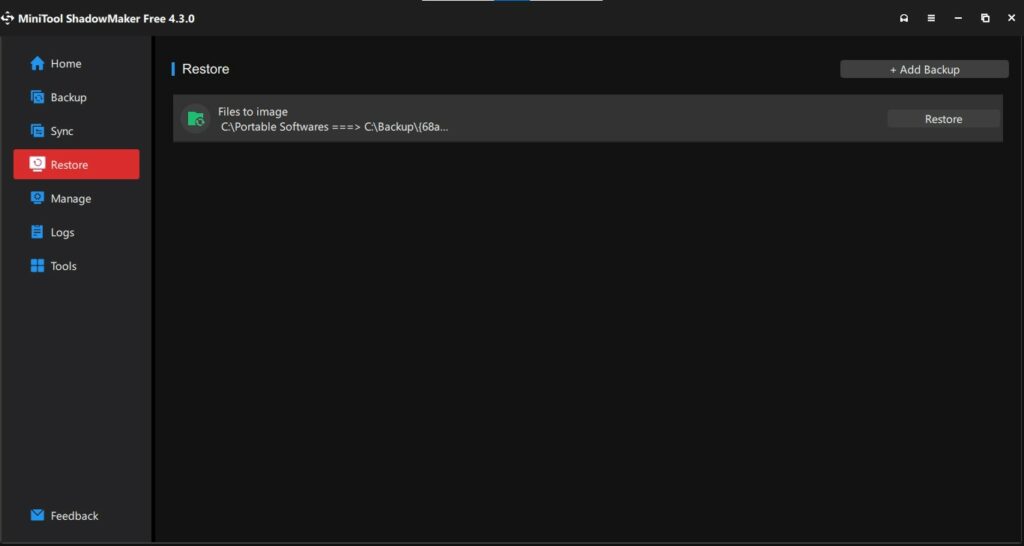
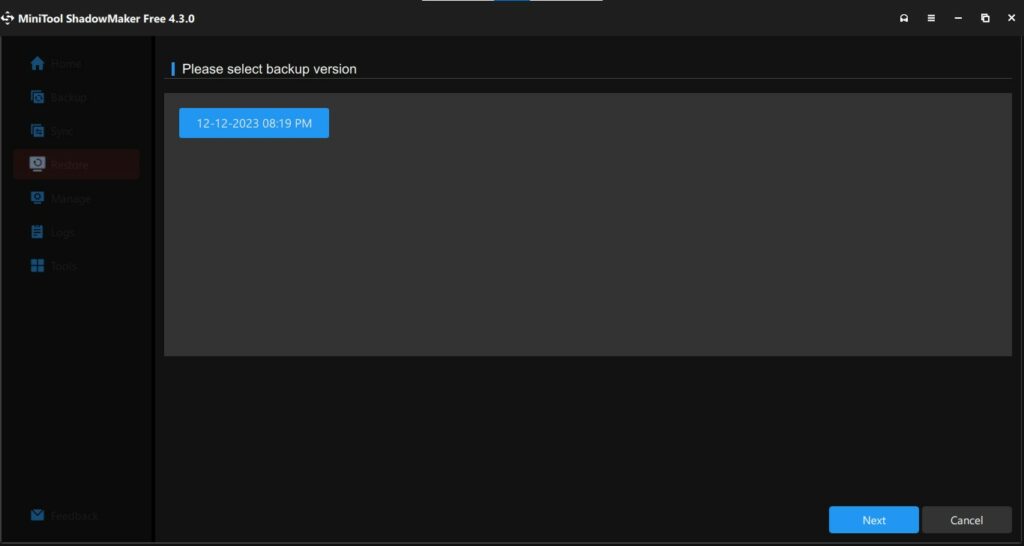
- You will be asked to select the backup version you want to restore. Select the version carefully and click “Next”.
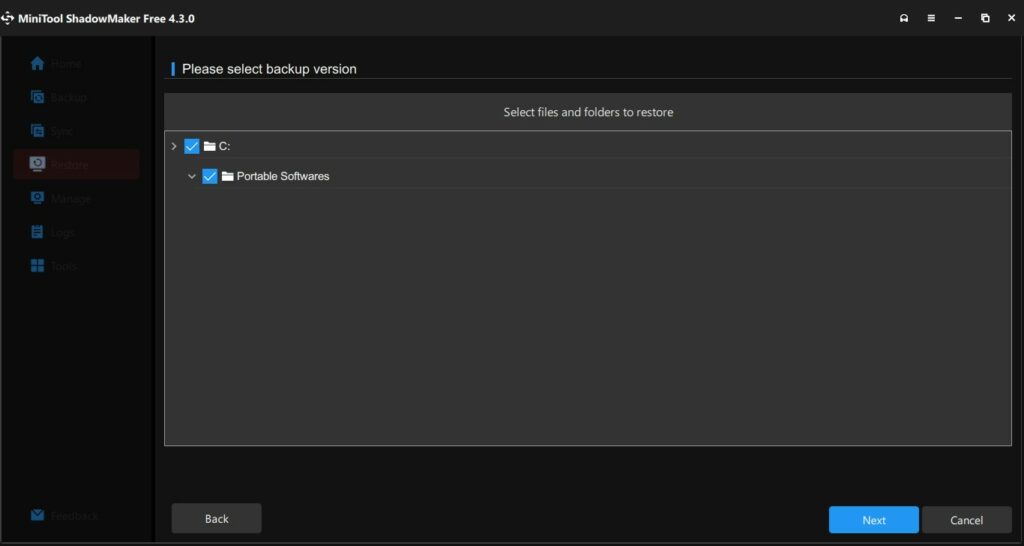
- In the next step, you will be asked to select which folders you want to restore, make the selection, and click “Next”.
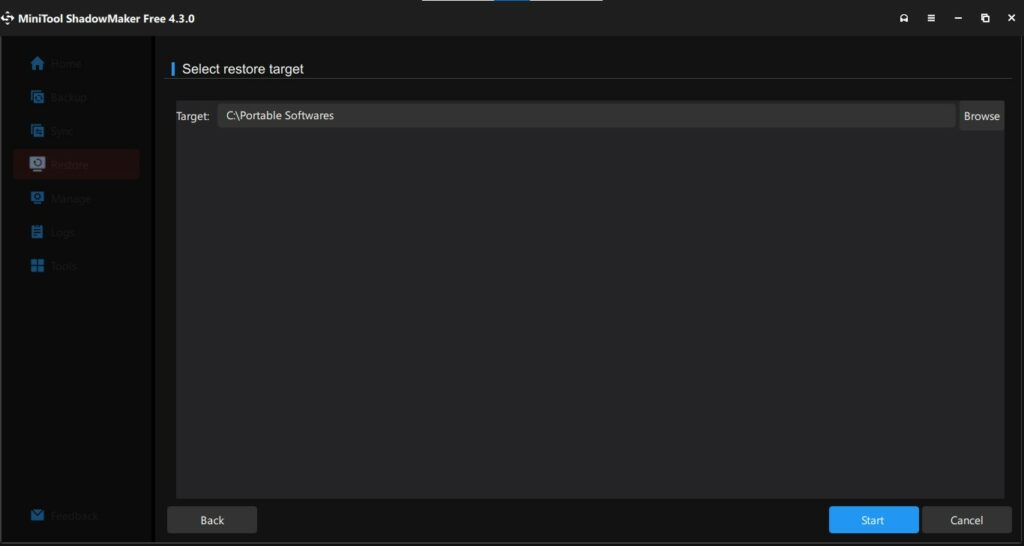
- Now select the Target Path where you want to restore the backup and click “Start”.
Different tools are available with MiniTool ShadowMaker Free: Media Builder, Add Boot Menu, Dismount, and Clone Disk.
Free vs. Pro versions of MiniTool ShadowMaker
We have attached an image below that will tell you all the features included in the pro version but not in the free version.
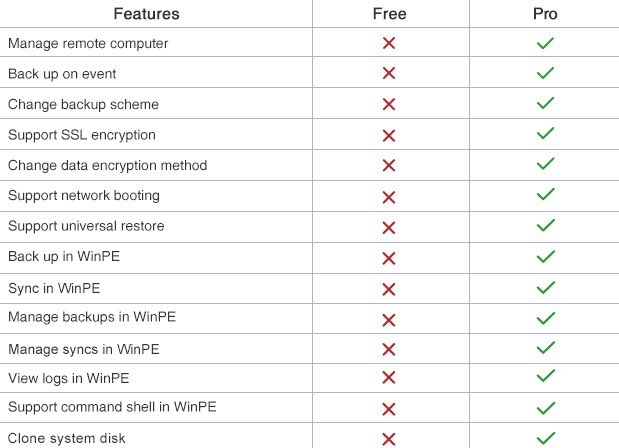
We believe the major one is changing the backup scheme once set and cloning the system disk. Try out the free version first and then upgrade to the Pro version if everything works out as expected.
Also read: 10 Best Free Cloud Storage Providers
We liked how MiniTool ShadowMaker Free makes the life of an average user easier with these features, but unfortunately, it is only available for Windows users, and there is no version for Mac. Apart from that, even if we are nitpicking, we have not experienced any issues while testing this utility.
