It is probably not a great idea to let your HDD spin forever on a server that is always on. Whether you are using that for Network Storage, MiniDLNA, Transmission, or anything similar, there is always a chance that your HDD will be sitting idle but still spinning almost 50% of the time.
We have tried many of the methods we found on the internet, but none worked as flawlessly as the one we will use in this tutorial.
We tested this method on Raspberry Pi 4 & Raspberry Pi 2B running Raspberry Pi OS based on Debian 12 Bookworm. But it will work on any Debian-based Linux where Gnome Disk Utility is installed, be it Ubuntu, Linux Mint, MX Linux, Kali Linux, etc.
How to Setup Automatic Spin Down or Sleep HDD on Raspberry Pi using Gnome Disk Utility
- Open the terminal and install Gnome Disk Utility using the command:
sudo apt install gnome-disk-utility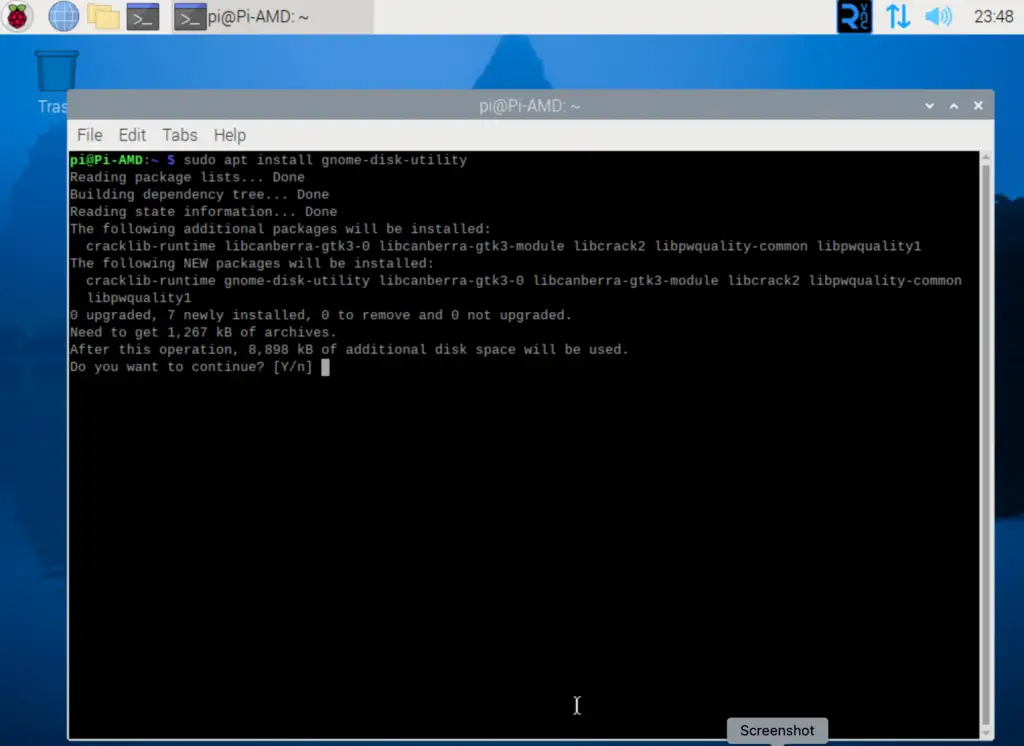
- Open Gnome Disk Utility using the command:
sudo gnome-disks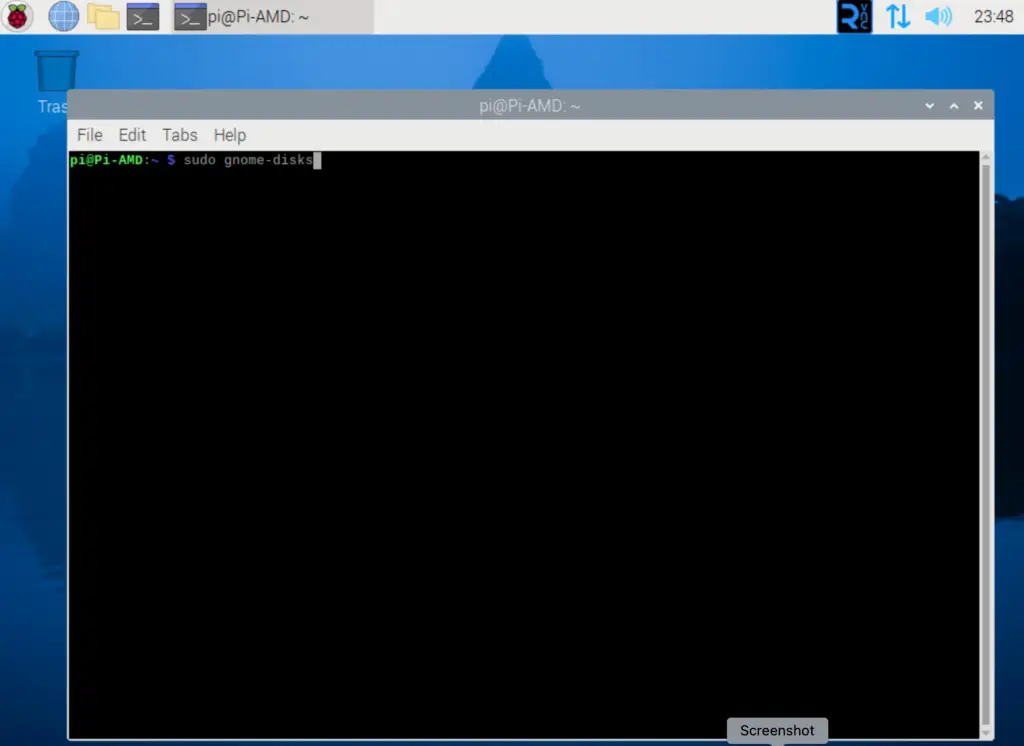
- Once Gnome Disk Utility is opened, Select the drive you want to spin down automatically.
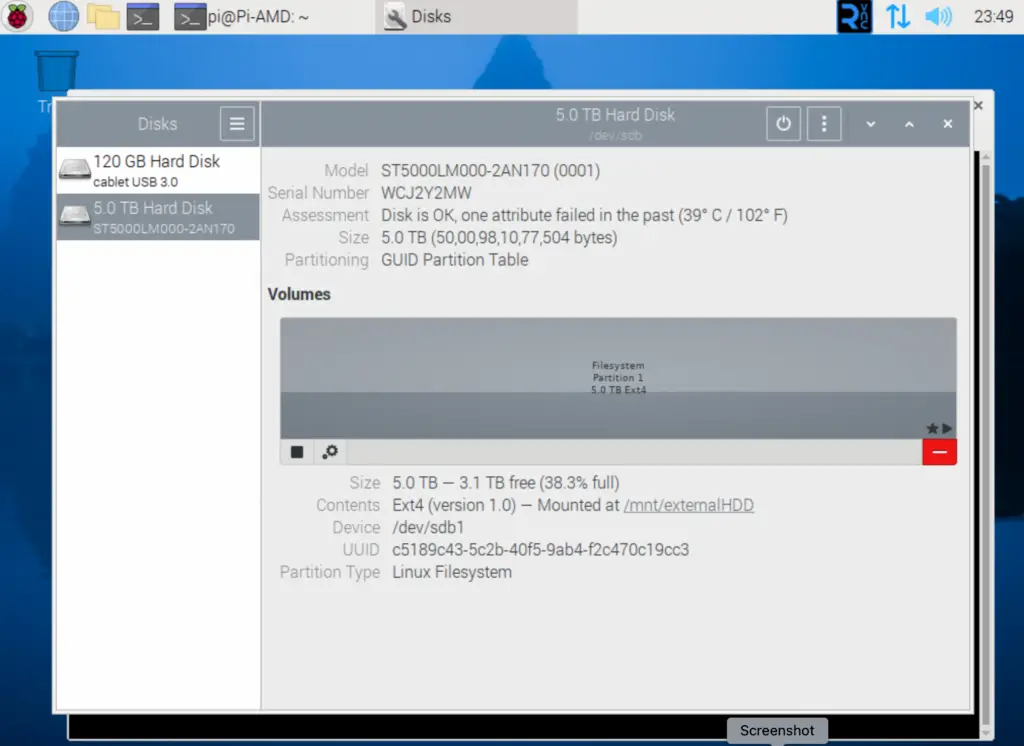
- Note down the Device path for later use. In our case, it was /dev/sdb.
- Press the vertical three-dot button on the top right section of the window.
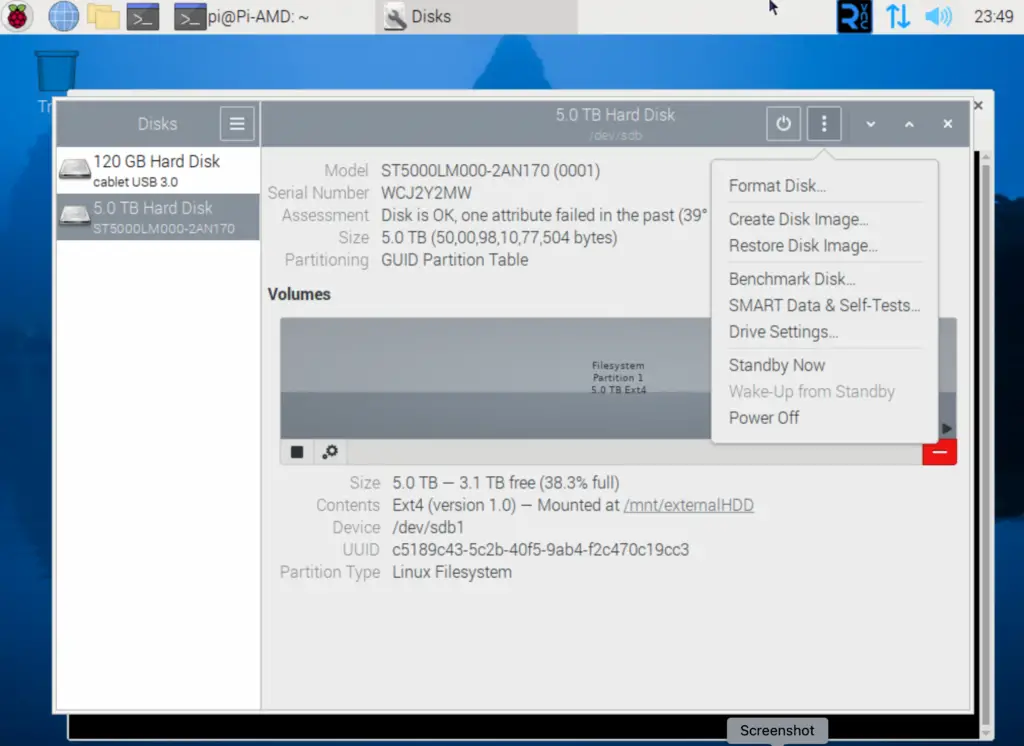
- Select Drive Settings.
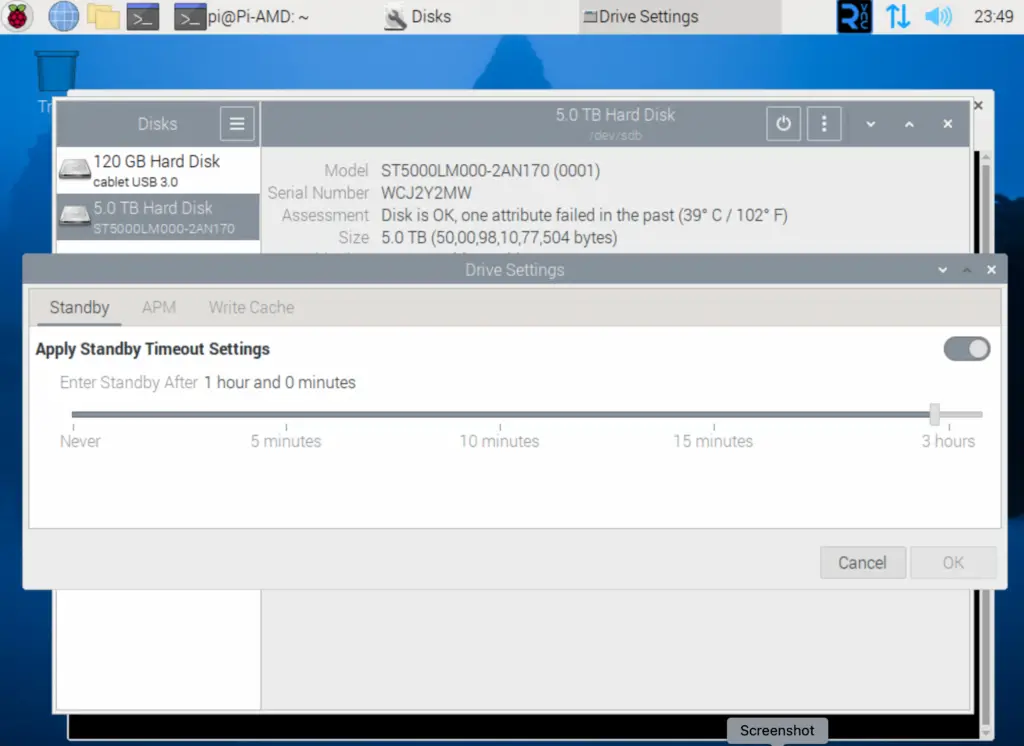
- Enable the Apply Standby Timeout Settings and select the time after which the HDD should spin down after idle. Be very careful while choosing this interval; a small interval can cause the HDD to wake up frequently and cause additional wear & on the other hand, setting a higher interval may cause the HDD never to spin down. In our case, 60 Minutes was the sweet spot. Decide yours accordingly.
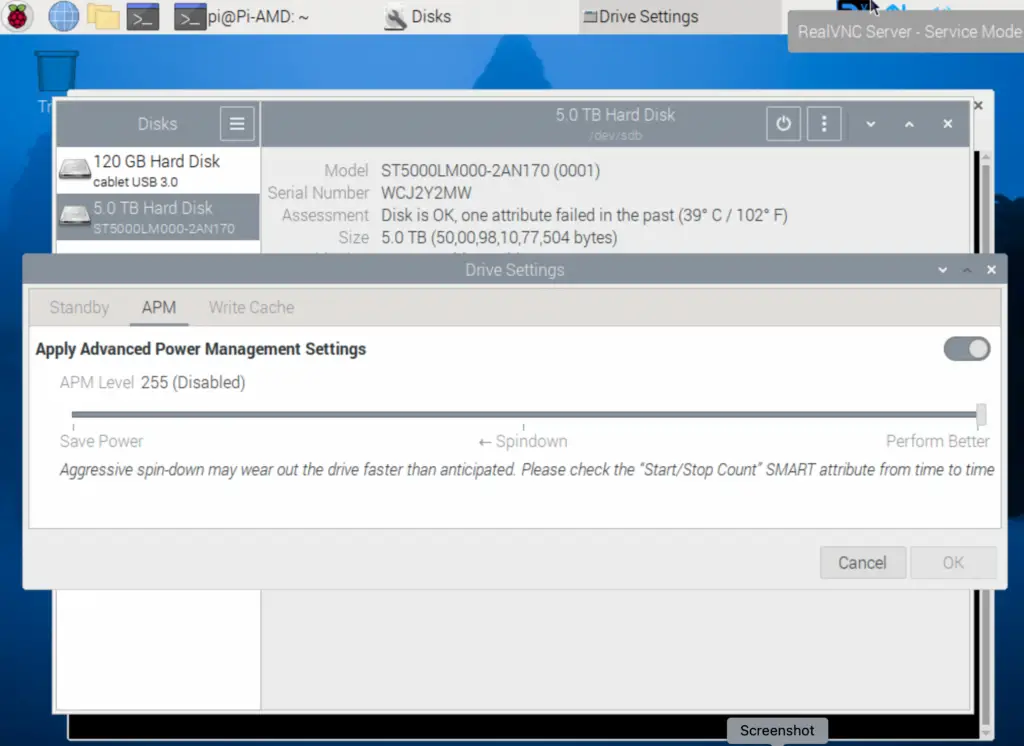
- Switch to the APM Tab. Enable the Apply Advanced Power Management Settings. Set this to 255. It will disable APM on your drive. We are doing this so that the default APM settings on your drive will not cause any conflict with the Standby Timeout we set in the earlier step.
- Press the OK Button to save the settings.
Now, to check whether the settings we have just applied show results in real life, proceed to the next section.
How to Check HDD Active and Standby Status using hdparm on Raspberry Pi
- Open the terminal and install hdparm using the following command:
sudo apt install hdparm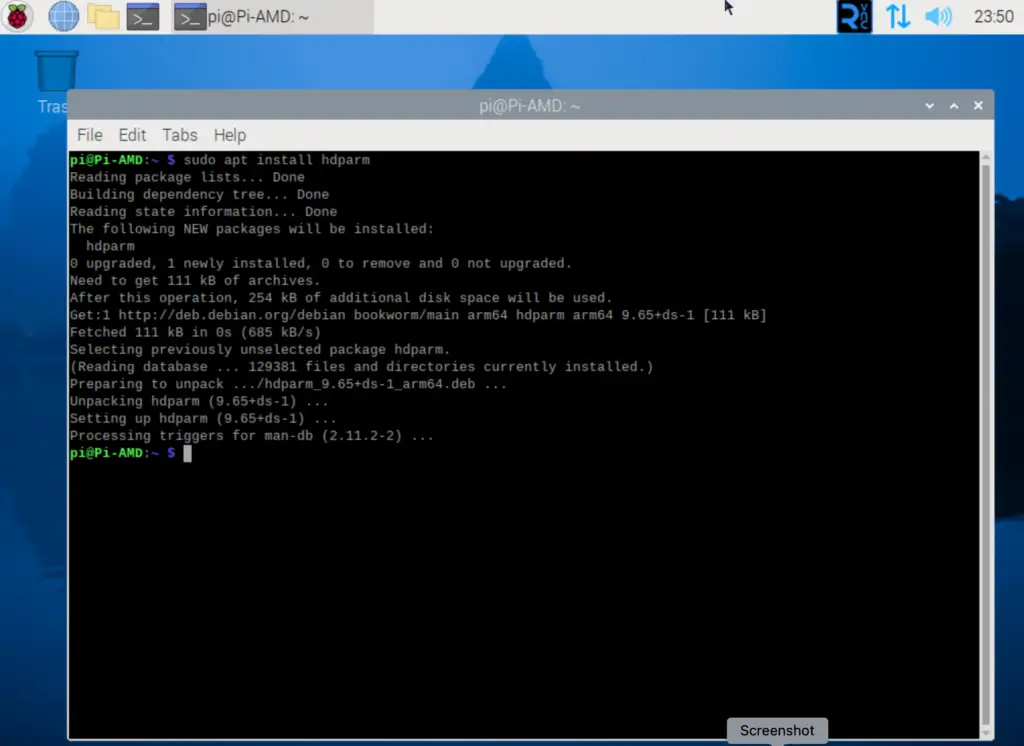
- Type the following command in the terminal and replace [path] with the path we noted in step 4 in the earlier section:
sudo hdparm -C [path]- It will show the status of the HDD. The drive state is showing as active since it’s just been a few minutes.
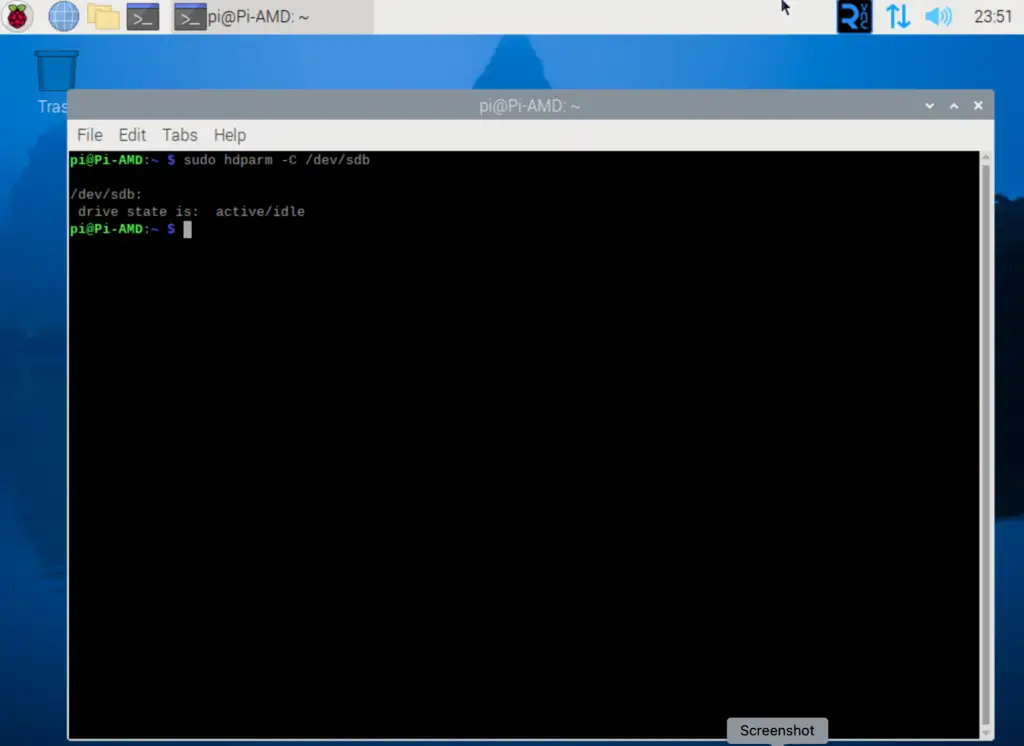
- Repeat the same command after the Standby Timeout you set, and it will show that your Hard Disk Drive is now in standby mode.
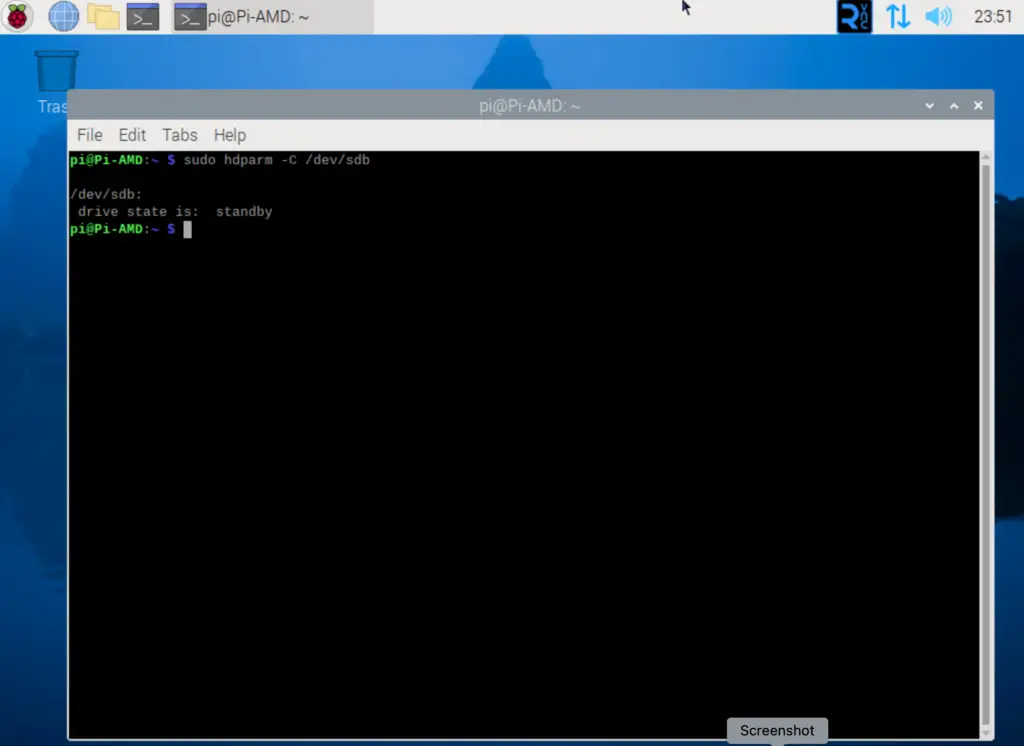
Why is My HDD Not Spinning Down, Sleeping, or Waking Up Frequently on Raspberry Pi?
In this case, you will need to check which processes are accessing your HDD and preventing it from spinning down and what is making it wake up more frequently. We will give you pointers on where to start.
- If you are using Docker containers stored on your HDD or the Docker containers are using this drive mounted as a volume, you need to turn off that first or shift to other drives.
- If you are using Transmission for downloading torrents, ensure that “scrape-paused-torrents-enabled” is set to false in the settings.json file.
- If you are accessing the SMART data of this HDD via smartctl or any other utility, it may also sometimes interfere with the Spin Down.
- If you are using miniDLNA or a similar service, ensure that you have turned off the automatic discovery of new files in the media directory by using inotify=no in minidlna.conf file.
- You can try using the following command to check whether any open files are mounted on the path using your HDD. Here, replace [mount-path] with the path to access HDD files:
lsof | grep [mount-path]How do you spin down the HDD using hdparm on Raspberry Pi?
- To enable standby timeout using hdparm, type the following command:
sudo hdparm -S [value] [path]* Values from 1 to 240 are in multiples of 5 seconds, which means 1 = 5 Seconds and 240 = 20 Minutes
* Values from 241 to 251 are in multiples of 30 minutes, which means 1 = 30 Minutes and 240 = 5 Hours & 30 Minutes
* 252 = 21 Minutes
* Other values are sometimes vendor-defined and outside the scope of this article.
- Now, to disable the APM, type the following command:
sudo hdparm -B 255 [path]Why are we not using hdparm to Spin Down or Sleep HDD on Raspberry Pi?
While hdparm is also easy, the changes do not persist on reboot. To make changes persist on a reboot, you must either add it to rc.local or create a systemd service to execute those commands on boot.
We also tried that but got nowhere to get it working. Although the commands were executing okay as per the logs, we could not verify it using the following commands:
sudo hdparm -S [path]sudo hdparm -B [path]Both of these commands were returning the default settings of the drive. Hence, it was easier to proceed with Gnome Disk Utility.
Also read: 14 Best SSH Clients for Windows & Mac
Why are we not using hd-idle for Spinning Down the HDD on Raspberry Pi?
We have tried hd-idle as well, but unfortunately, we were getting errors executing the command, so we skipped it for a better solution.
