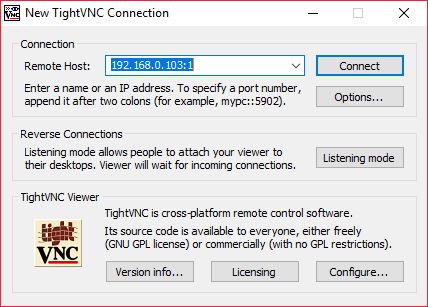
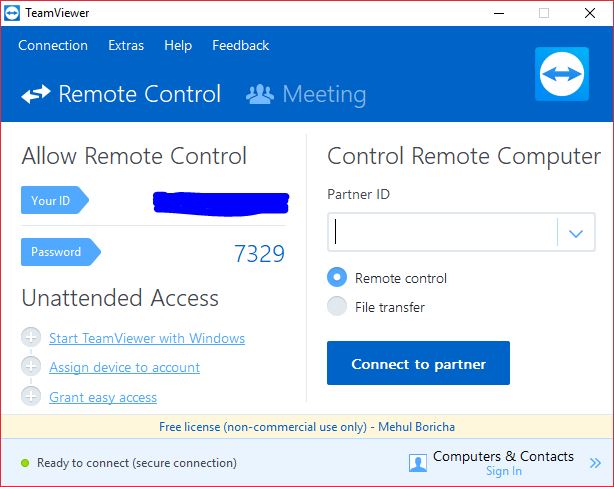
Personally, we have tried installing VNC as well as much other software that can provide remote GUI access to the Raspberry Pi, but we were quietly not satisfied with it. So here in this tutorial, we are going to install TeamViewer on Raspberry Pi within a minute.
Why we don’t like VNC much?
The first thing is that the VNC server has to be started manually (at least in our case) with certain resolution parameters so that it can fit our screen every time. This is a tedious as well as a very time-consuming task, and we don’t like that.
Update: You can use “sudo raspi-config” or Raspberry Pi Configuration on GUI to allow VNC to start automatically at boot. But still it do not allow you to connect to your Pi from anywhere in the world unless you have a static IP and have port forwarding enabled. And for sure it is not a secure way to implement that. 🙂

Also, another drawback of the VNC is that you can’t use the host screen directly. That means a virtual instance is created and then it can be accessed via VNC. As soon as we close the VNC server all the instances are destroyed.
Also read: TeamViewer Alternatives: 10 Best Remote Desktop Software
Why we love TeamViewer?
First of all, we love to use the Raspberry Pi without a screen for our Internet of Things projects i.e. headless configuration. We usually have a laptop with us, and we certainly want the laptop’s display to work with Raspberry Pi.
But that is not simply possible. This is where TeamViewer comes in. You can set up unattended access as well as set TeamViewer to auto start on boot. Also, unlike VNC to remotely access the Raspberry Pi over the internet requires a public static IP address while TeamViewer just requires ID and Password for the access. So you won’t have to worry about getting a public static IP address which can cost you a few bucks.

We are searching for the tutorials on installing TeamViewer, and we found some, but unfortunately, we found none of them worked for us. This was because we were trying to install the version that was available for normal computer processor not ARM processors.
Luckily there is a beta version of TeamViewer that is specially designed to work with Raspberry Pi 2, 3 and 4. However, Raspberry Pi Zero, as well as version 1, are currently not supported.
Steps to Install TeamViewer on Raspberry Pi
First of all, make sure that your Raspberry Pi meets the following requirements
- It has at least 35MB of disk space.
- You have Raspbian 8.0 Jessie with X-Server or Framebuffer VT.
Before starting here is what we have used in the tutorial:
- Raspberry Pi 2
- LG 24MP88HV-S
- TP-Link MR3020 WiFi Router
- TP-Link WN725N WiFi
- SanDisk 16GB Class 10 UHS-I Memory Card
- Raspbian Jessie(2017-04-10)
- First of all download the latest TeamViewer host from this link.

- Now transfer the deb file to your Raspberry Pi and open up the terminal.
- Install the deb file like we do on the Ubuntu. The command is “sudo dpkg -i filename.deb” or just simple use “apt install ./filename.deb” as instructed in TeamViewer manual.
- Let the process complete. Now there will be several unmet dependencies.
- To fix this first type “sudo apt-get update” and wait until all the packages details are downloaded.
- Now use “sudo apt-get -f install” to install all the dependencies or use “sudo apt-get -f upgrade” to install dependencies as well as upgrade other modules.
- You are good to go. By default, the TeamViewer will start at the boot, and you can also connect it using the headless mode.
- Type “teamviewer help” for more details.
After the installation here is something you can do:
If you Have a Display/Monitor and GUI Access

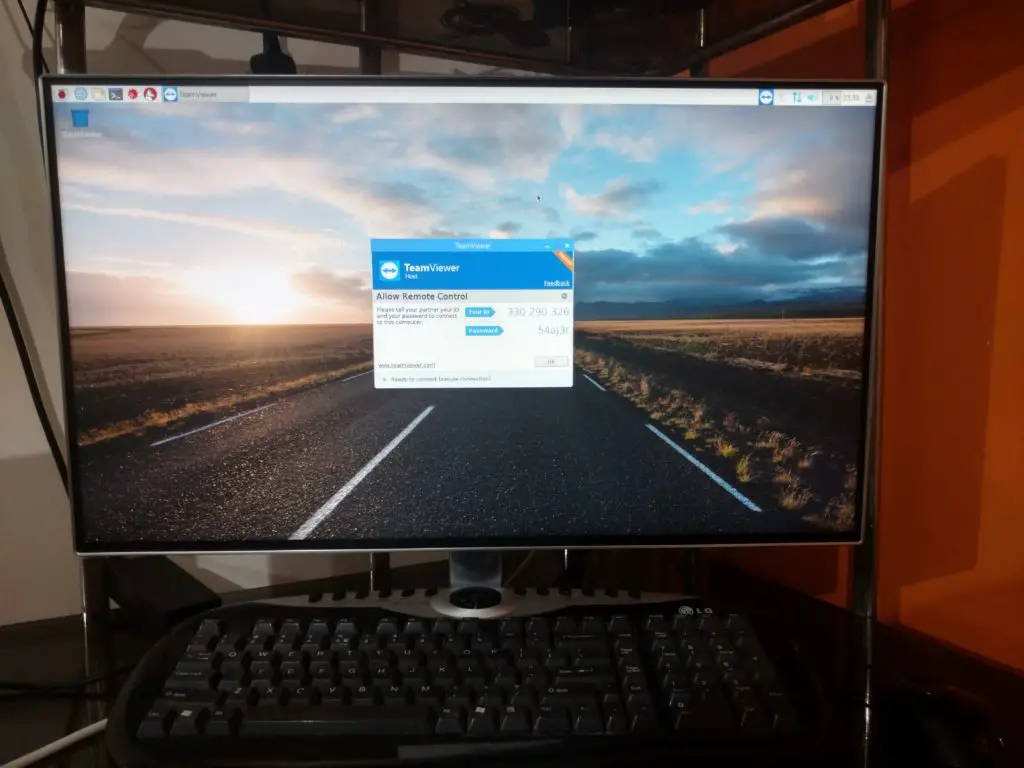
- You can simply open the TeamViewer from the menu -> Internet -> TeamViewer or if it’s already running then you can see the little TeamViewer logo in the top taskbar.
- Note down the ID and Password. Now you can connect to your Raspberry Pi from anywhere.
- From the settings menu, you can also set up unattended access and set a permanent password to access it.
For Headless Access

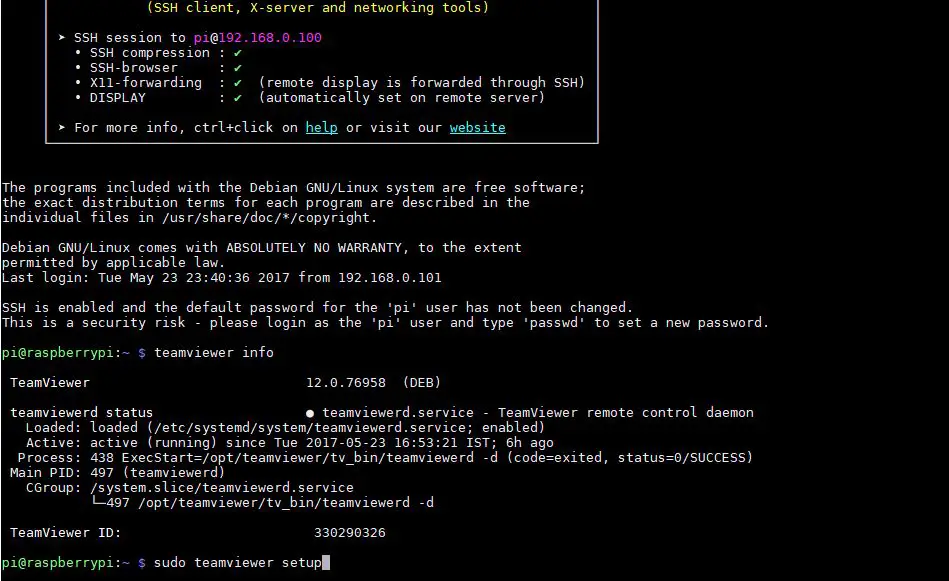
- Connect to your Raspberry Pi via SSH.
- To find out the id, you can type “teamviewer info” or to setup headless access you can type “sudo teamviewer setup”.
So that was very easy. We hope that you have enjoyed this tutorial and you were able to install TeamViewer successfully on your Raspberry Pi. If you encountered any problem while performing the installation, then do let us know using the comment section below.
Also, don’t forget to share it with your friends who are using or are interested in Raspberry Pi tutorials and Internet of Things.


Please send us an email with all the required details to the address mentioned on the Contact Us page.
Hi. I need some help with opening teamviewer on my device. Gives me a core dumped error. Any ideas?