Bootloader mode (Fastboot mode) allows you to do various amazing things. You can flash any partition using this mode. If you are familiar with the Android Operating System, these are .img (Image Files) that can be flashed via fastboot mode on any Android device.
This process will work on most Android smartphones nowadays, but for some manufacturers like Samsung, you will have to use a different method than the one mentioned below. Please click here for more information on How to Flash TWRP Recovery via Odin on Samsung Devices.
What is TWRP Recovery?
Proceeding to Flashing TWRP Recovery is a significant step in unlocking the potential of your Android device. Before proceeding, you should know what it is. If you already know, you can skip this section.
Team Win Recovery Project, often abbreviated as TWRP, is a feature-packed custom recovery and currently one of the best that holds significant significance for an Android Power User. It can perform multiple actions, such as backing up partitions, wiping partitions, flashing custom ROMs/modules, and much more. Most importantly, it is primarily the first step in rooting your Android device. You can easily flashing Magisk ZIP to root your Android device once TWRP recovery is flashed.

As a precautionary measure, we recommend you take a backup of your Android device. In most cases, there is nothing to worry about if the steps are followed correctly.
Prerequisites
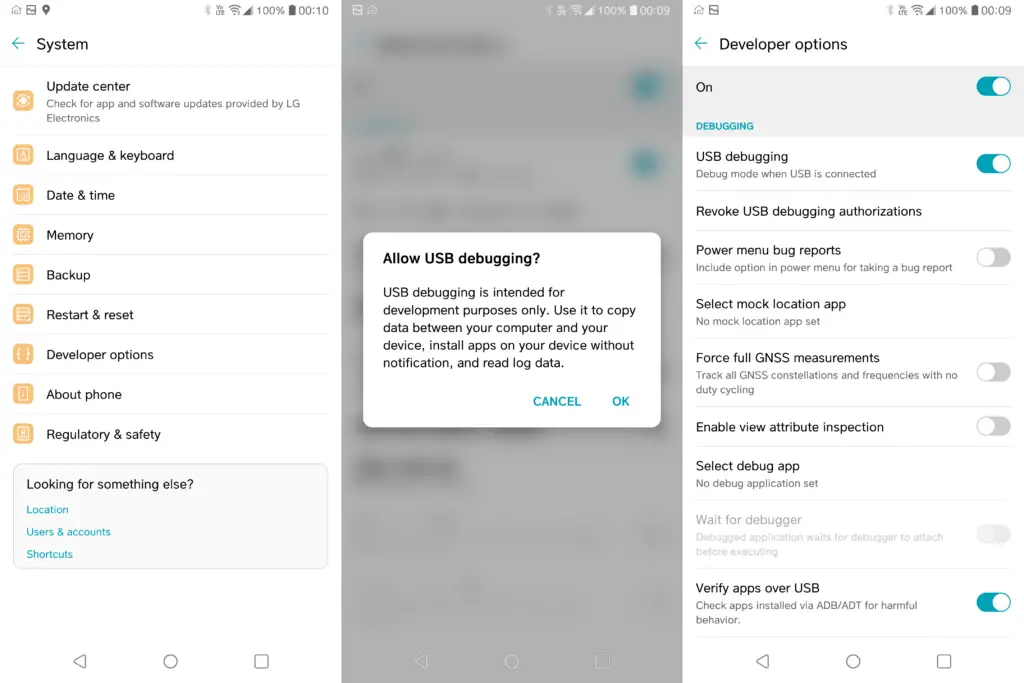
- Enable USB Debugging: Go to Settings > About Phone > Tap “Build Number” 7 times. You’ll see a pop-up that says, “You are now a developer”. Head back to Settings > Advanced. A new option called “Developer Options” will appear. Tap it and Enable USB Debugging.
- Install Android SDK Platform Tools: Follow this tutorial to Install ADB & Fastboot otherwise known as Android SDK Platform Tools.
- Unlocked Bootloader: It is likely that your device will have a bootloader and will be locked by default. The ways of unlocking differ from manufacturer to manufacturer. So before proceeding, complete this step as well.
Downloading TWRP Recovery Image for Your Device
Important Note: TWRP Recovery Image differs from device to device. Flashing a TWRP Recovery Image that is not made specifically for your device/model will likely not work and is highly not recommended.
The best way to obtain a compatible TWRP Recovery Image is from official sources. Here’s how:
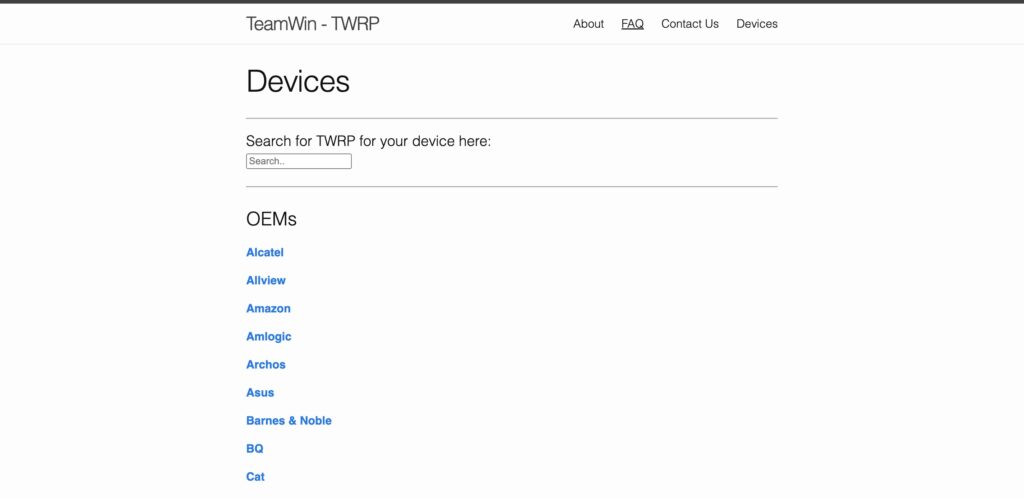
- Select the brand of your Android device and then select the model as well. Ensure that it matches precisely with your device. If not, skip the next step.
- Scroll down to the “Download Links” section and download the latest one from the list. For the latest devices, there will be two files: .img and .zip; in that case, download both of them. (Keep this tab open because we will need this for the next part.)
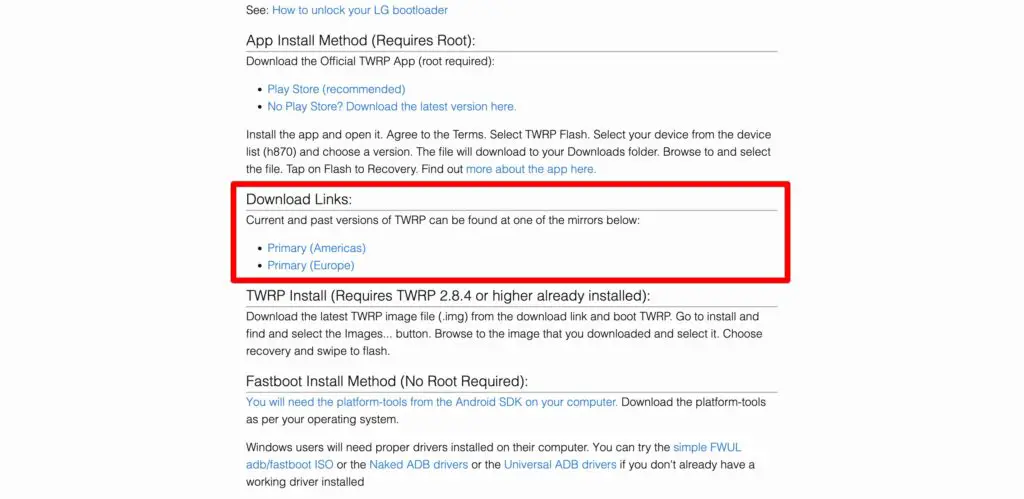
Sometimes, your Android device model will not be listed on the official TWRP website. In that case, your best bet will be to search for a compatible TWRP Recovery Image on forums like XDA-Developers. If not, you’re out of luck. :(
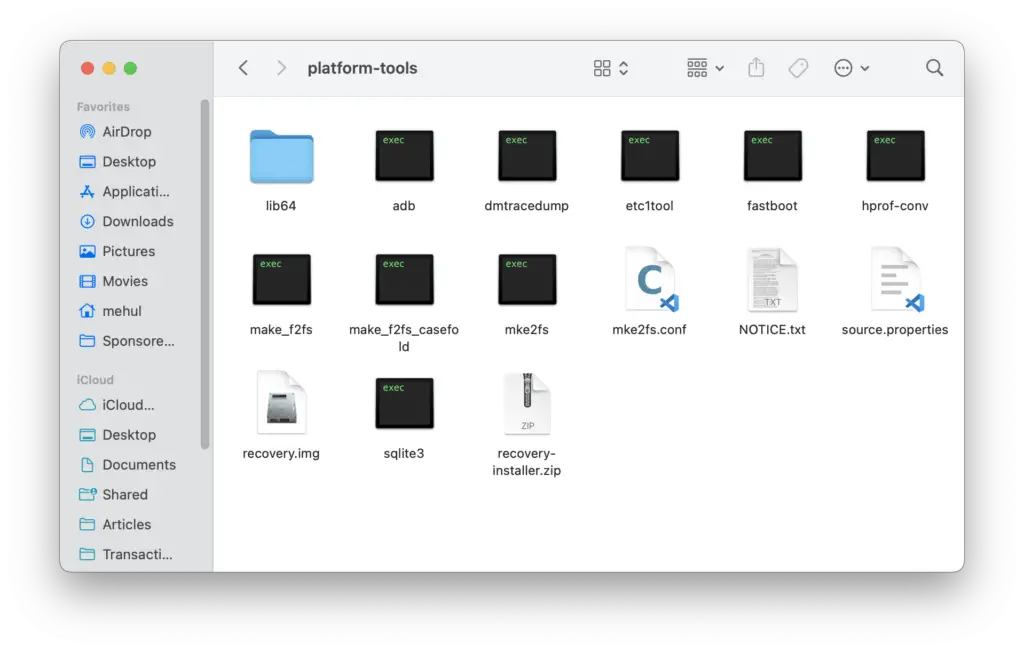
If you successfully download the recovery image, copy that/those file/files to the platform-tools folder we downloaded in the prerequisite section and rename the recovery image file to “recovery.img”, and if there is a zip file, rename it to “recovery-installer.zip” to streamline the process in the next section.
Identifying Your Android Device Partition Type
After the launch of Android 8.0, there were some under-the-hood changes in the Android partitioning system. There are two types of partitioning styles: Type A (For Older Devices) and Type A/B (For Newer Devices). It means that Type A devices has a separate recovery partition, and Type A/B now has integrated recovery partitions in each. This will change the process of flashing TWRP recovery later in the tutorial. Here is how you can find out which partition type your device is using:
- The recommended way is to take the official TWRP Website’s help. Head over to the tab that we opened in the previous section.
- Check whether the installation method mentions “Fastboot Flash Method (No Root Required)” or “This device uses Dynamic Partitions”. Or Simply put it this way, if there was only .img file or both .img & .zip files. The former is for “A-Type Partition” and the latter for “A/B-Type Partition”.
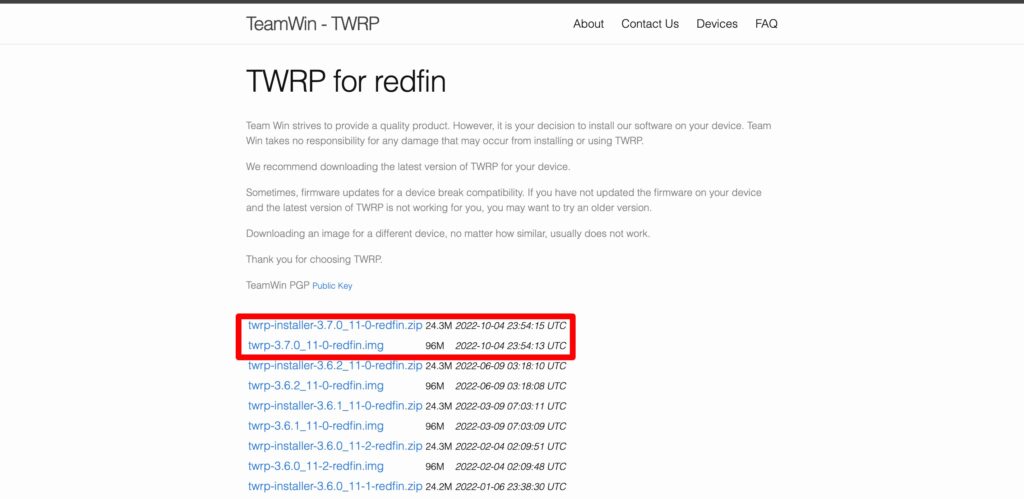
If your device wasn’t listed on the official TWRP Website, check the source from where you downloaded the recovery image or use the Treble Check App from the Google Play Store to identify the partition type.
Steps to Flash TWRP Recovery Image via Fastboot on Android (Windows & Mac)
After completing all the steps mentioned above, let’s understand a simple and fairly easy process to flash or install TWRP Recovery on Your Android Device using Fastboot.
- Connect your Android device to the computer via a USB Cable.
- Head over to the platform-tools folder we downloaded earlier in the requisite section.
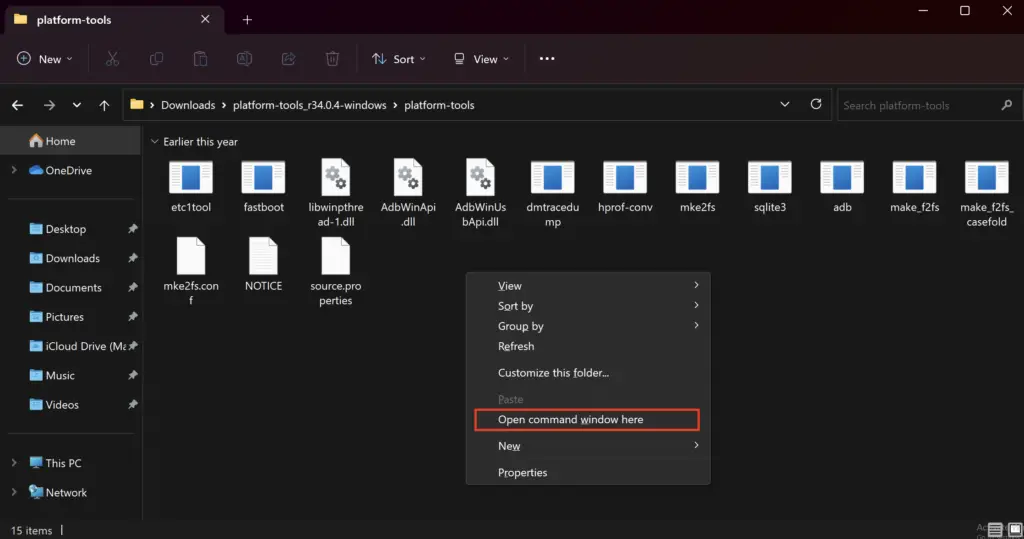
- If you are using Windows, hold the “Shift Key”, right-click in the empty space in the folder and select “open command window here”.
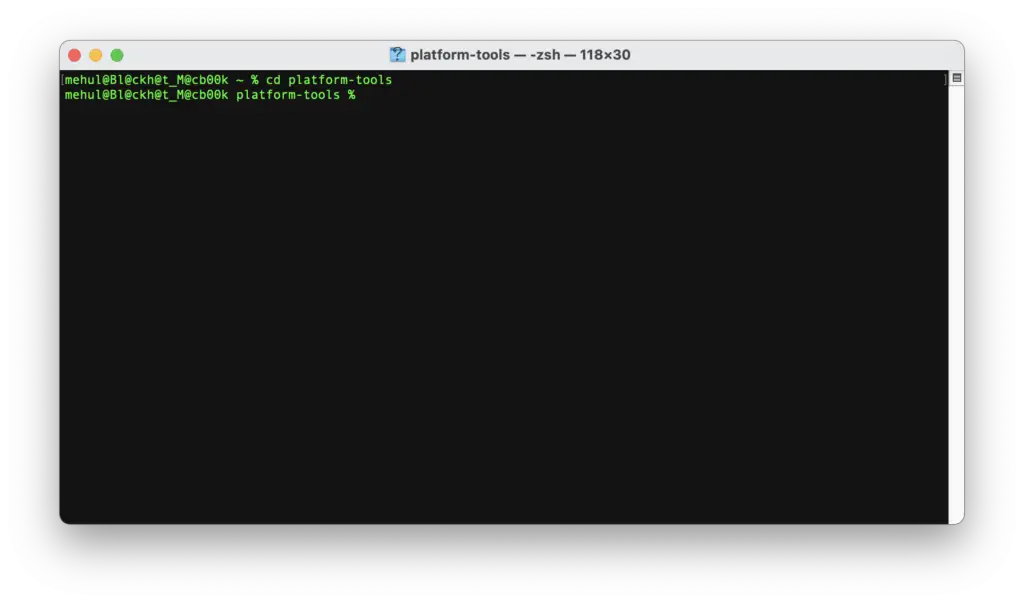
- Alternatively, if you are a Mac user, open the terminal and mount the platform-tools folder using the cd command. From here onwards remember to prefix all the commands with “./” for Mac.
- Type the following command to verify the ADB connection for the connected device. If the connection is successful, you will see the deviceID listed there; otherwise, try reconnecting the device and checking if any additional device-specific drivers are required.
adb devices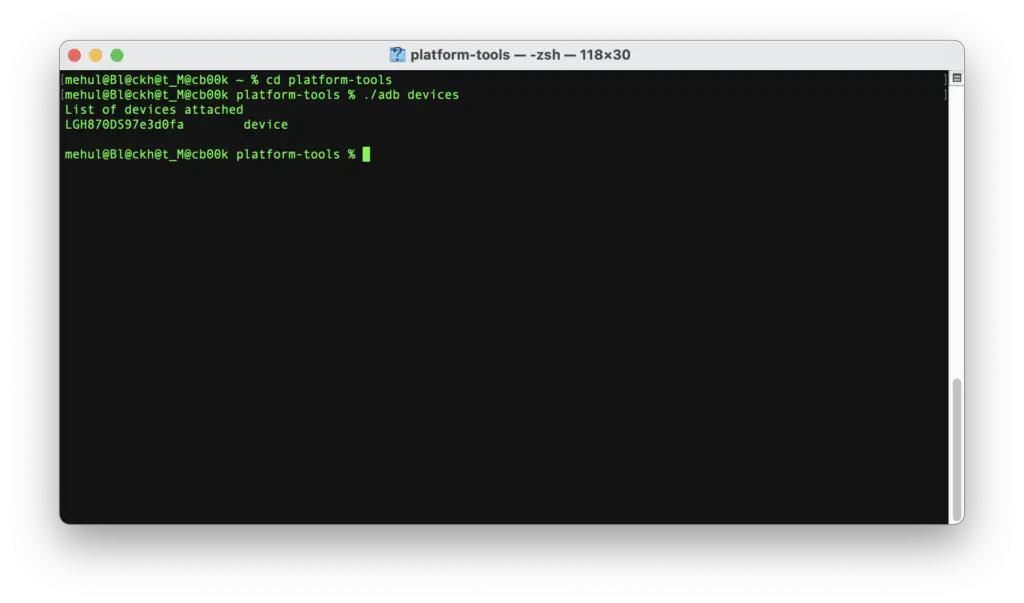
You will be asked to confirm on Android device the connecting with your computer, allow it and execute this command again until “unauthorized” is removed.
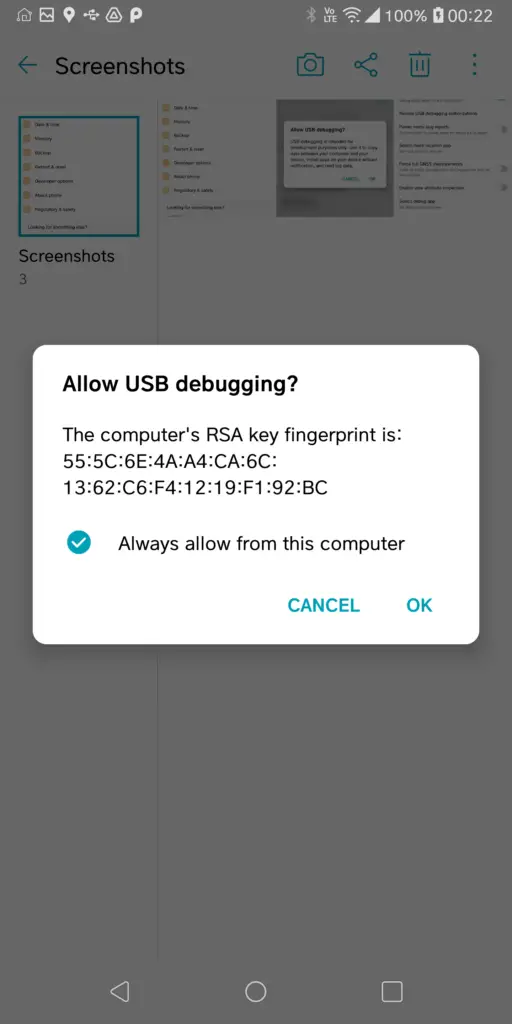
- Reboot into bootloader mode using the following command:
adb reboot bootloaderThis will reboot your device and boot it up in the fastboot mode.
For Devices With A-Type Partition
- If you have followed the earlier steps correctly, the following command will flash the recovery image to your Android device within a few seconds.
fastboot flash recovery twrp.img- Now reboot your device using
fastboot reboot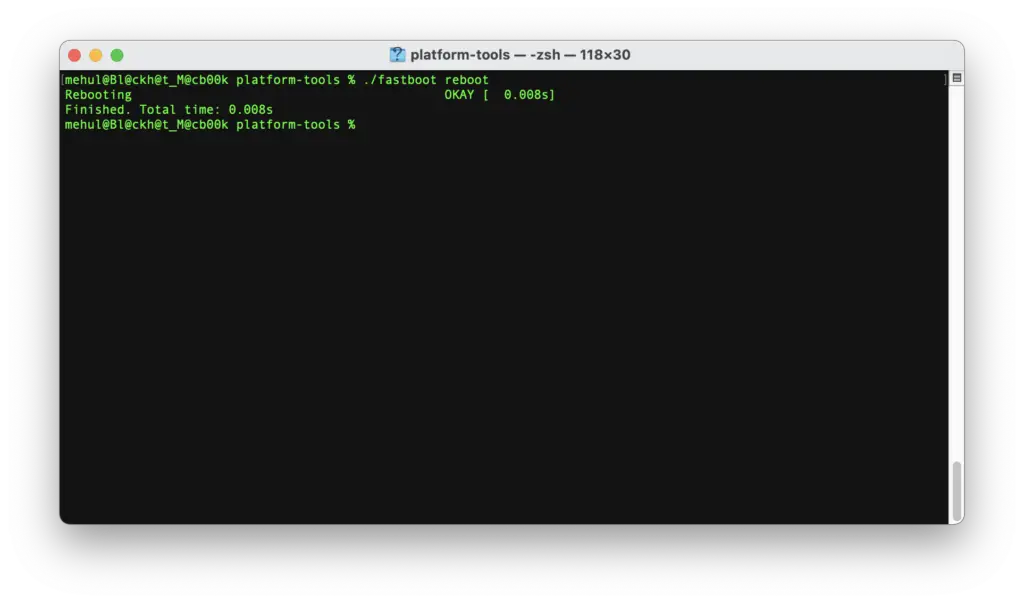
Important Note: A few devices try to overwrite the TWRP recovery with the OEM one in the 1st boot after TWRP is flashed. To prevent this, find the key combination to boot into TWRP using Google Search (Generally Power + Volume Down), and while executing step 3 in the abovementioned process, hold that key combination to boot into TWRP directly. It will take care of that issue.
For Devices With A/B-Type Partitions
- Boot Temporary into TWRP Recovery directly using the command below:
fastboot boot recovery.img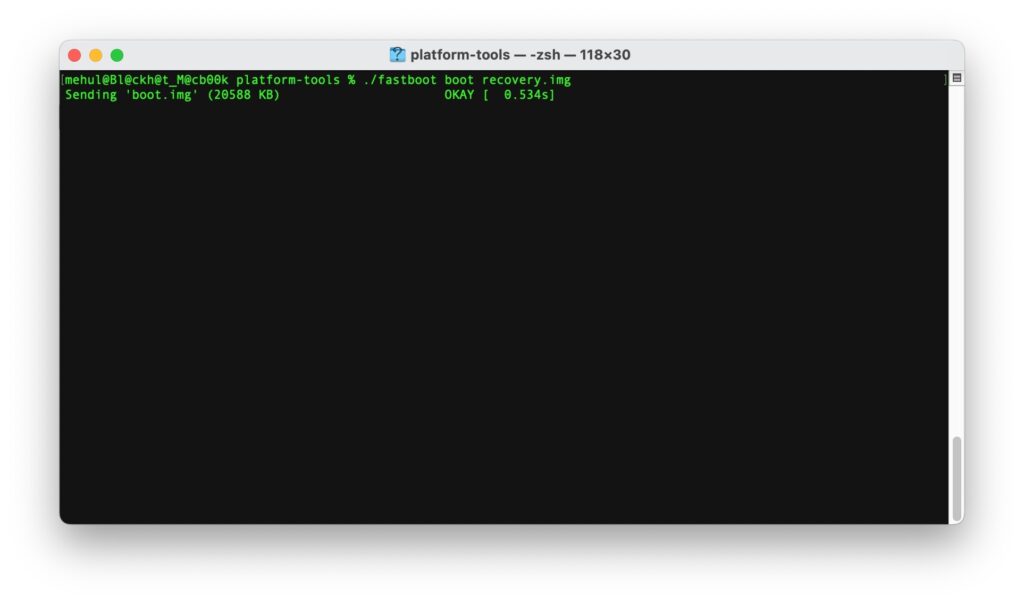
- Now push the zip file we downloaded earlier using:
adb push recovery-installer.zip /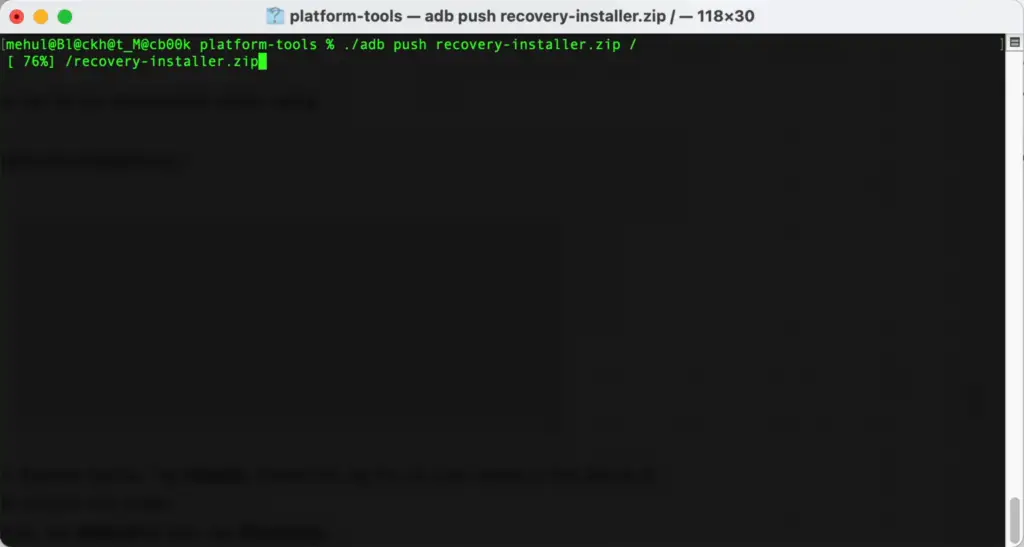
- Now, on your Android device, Tap Install. Select the zip file we just copied to the device & swipe right to confirm the install.
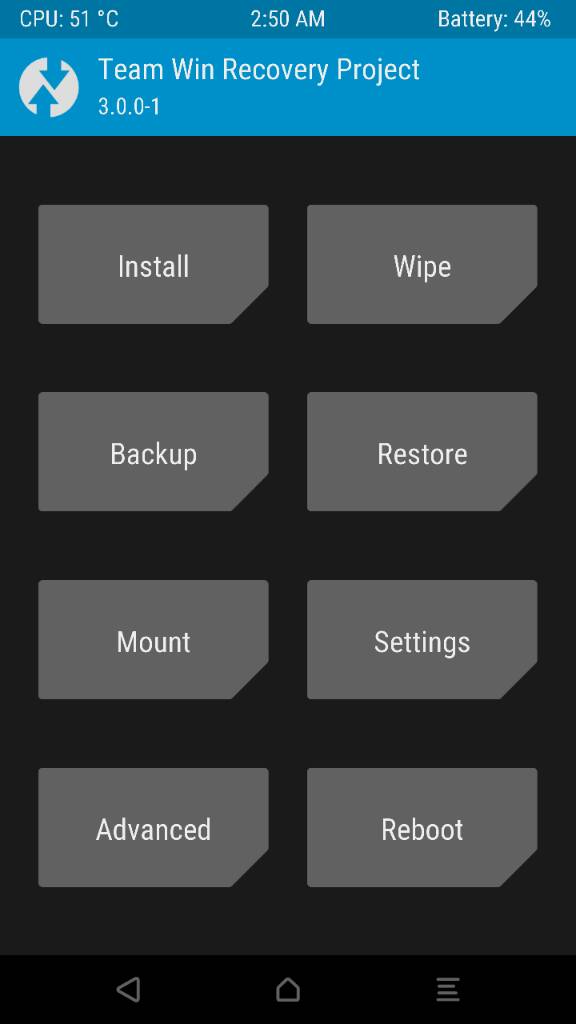
- Once successful, tap Reboot & then tap Recovery.
- You will again be booted directly into TWRP Recovery. This means it is now permanently installed on the active partition.
- Now you can reboot your device by tapping Reboot & then System.
You have successfully flashed the recovery image to your Android device. If you are looking forward to rooting your Android device, you can easily Root Android Device Using Custom Recovery.
Fun Fact About This Article: This article was originally written in 2014; a lot has changed since then. But if you recall earlier times, there used to be another popular recovery image called CWM(ClockWorkMod) Recovery and many custom recoveries from different enthusiast developers. Time has changed a lot, and now the TWRP rules; hence, this article was updated in 2023 to accommodate the changes that have happened in the past decade.

I guess the both may work as mentioned here: https://source.android.com/docs/core/architecture/bootloader/fastbootd
If it’s only been a couple of months since you got the phone. Try contacting the Xiaomi Support and get them to flash new firmware for free in their service center.
Now the command for reboot is fastboot reboot-bootloader
Cheers