If you are someone who has set always-on Raspberry Pi at a remote location, then you might relate to the problems mentioned below:
- Raspberry Pi hangs when a power switch happens between the inverter/generator and the main grid.
- Some scripts consume so much resource that you cannot remotely access the terminal to stop the script or reboot the pi.
This significantly worsens if you have no one at the location to manually power off and power on Raspberry Pi.
In my case, I have set up a Home Assistant Instance in my hometown to make life easier for my grandparents. We have off-grid solar that automatically switches when the grid goes out. This happens more frequently than you might think. My Raspberry Pi setup used to freeze at least once or twice a week, even though we have a UPS inverter.
I was looking for a solution and discovered that the smarty pants at Raspberry Pi Design team already have placed a built-in hardware watchdog just waiting for me to be activated.
Also read: How to Create Torrent Files with Transmission
What is a Watchdog?
As the name suggests, a watchdog is a system hang control scheme. It means that whenever a watchdog does not receive a signal for a specified interval, it will reboot the device, detect the system as frozen, and reboot the system without human intervention.
This service type comes in handy while dealing with 24/7 running machines.
Types of Watchdog
Hardware Watchdog: If the hardware chip is not contacted within the specified interval, it will consider the system stuck or frozen and reboot it. This type of watchdog is more reliable since.
Software Watchdog: As the name suggests, a reliable script is running on a system to check whether the system is working fine or not. However, suppose there is some kind of issue with a malicious or questionable script. In that case, it can cause the software watchdog to fail, and the system might never recover automatically.
Steps to Enable Hardware Watchdog Timer on Raspberry Pi
Luckily, Raspberry Pi has a built-in hardware watchdog that can be enabled easily with a few steps.
- Type the following command to check whether the watchdog is available on your Raspberry Pi.
ls -al /dev/watchdog*- If you see an output like this, skip to step 5.
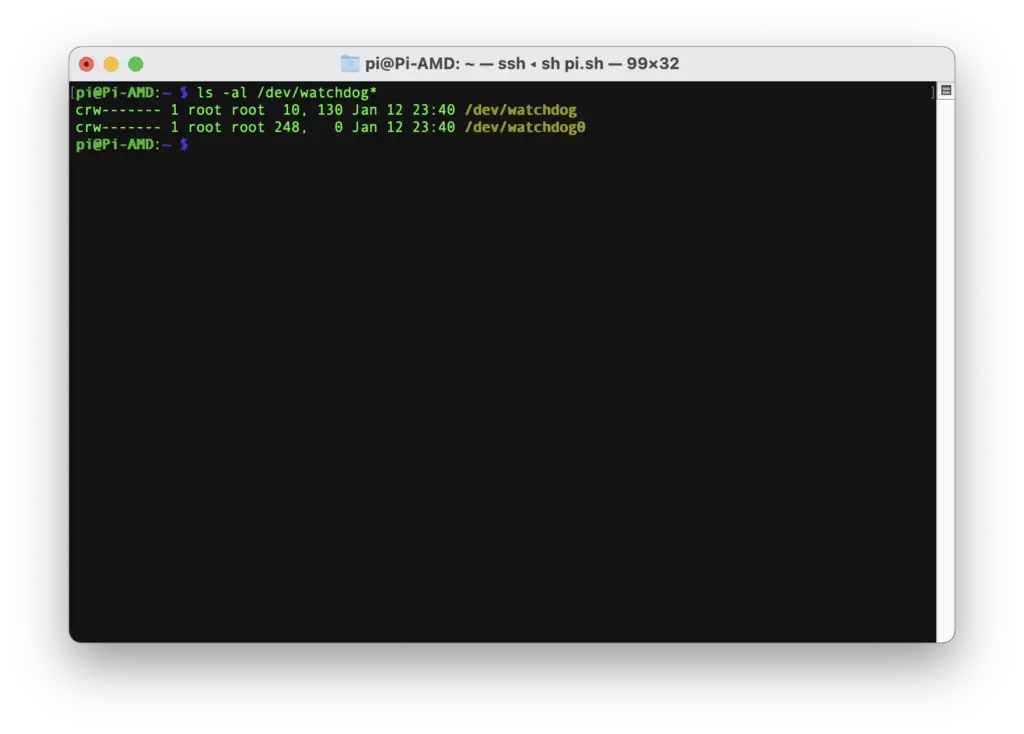
- Usually, the H/W watchdog is usually enabled by default, but if not, type the following command.
sudo nano /boot/config.txt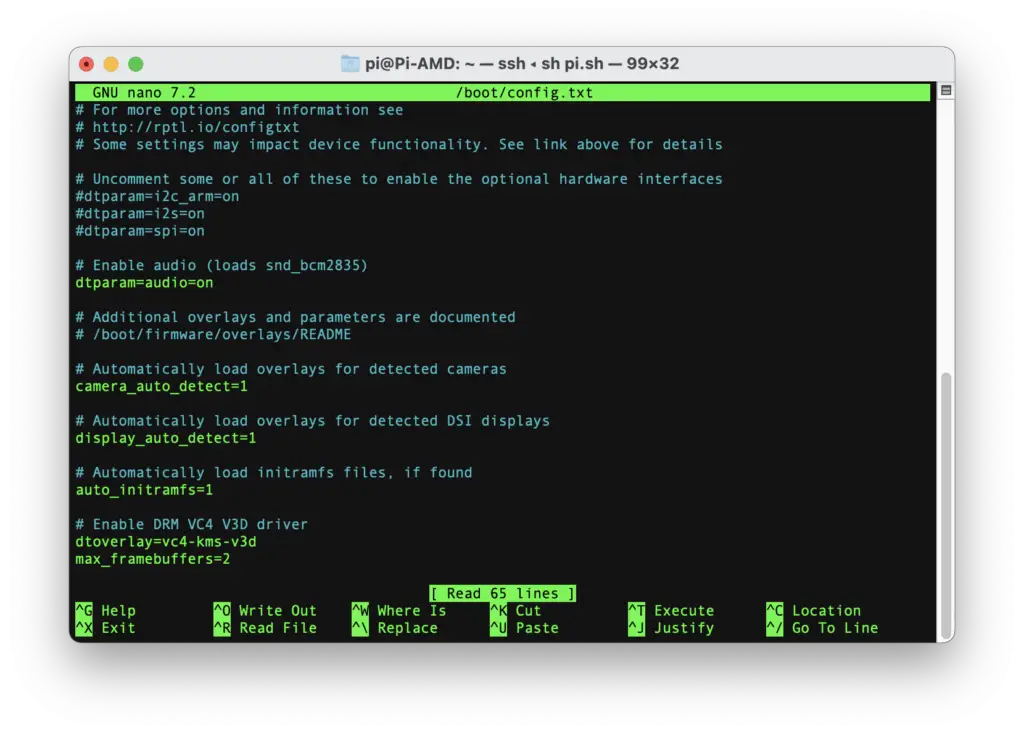
- Search for “dtparam=watchdog“; if it is not there, add “dtparam=watchdog=on” at the end of the file, save the file, and reboot the system. Repeat the step 1 to check.
- Type the following to edit system.conf file.
sudo nano /etc/systemd/system.conf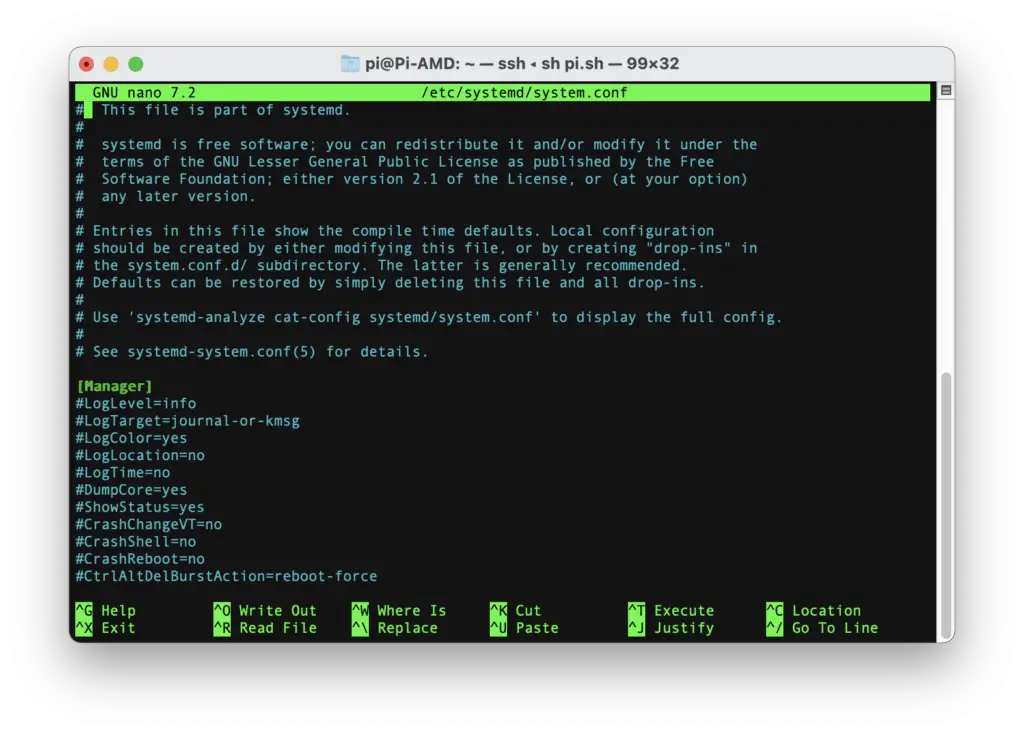
- Add/uncomment/edit the following lines.
RuntimeWatchdogSec=10
RebootWatchdogSec=10min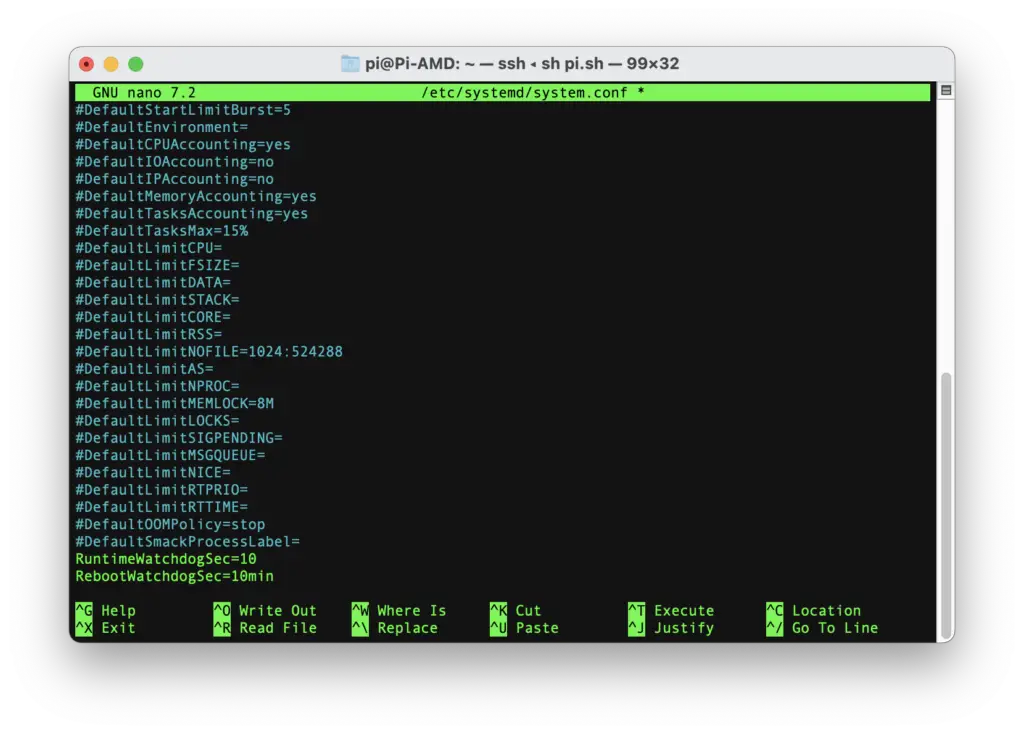
Here is what these lines mean:
RuntimeWatchdogSec is the time that if the watchdog does not receive a signal in 10 seconds (watchdog timer), then it will consider the system frozen and reboot the pi. Ensure that this value is not greater than 15 seconds because Raspberry Pi will not be able to handle that, and the system will be in a continuous reboot loop.
RebootWatchdogSec is the time that the watchdog will wait for a clean reboot. In this case, it will wait 10 minutes for a clean reboot; if the system does not reboot in that time, it will forcefully reboot the system.
Refer to the systemd-system.conf man page here.
- Reboot the system using
sudo reboot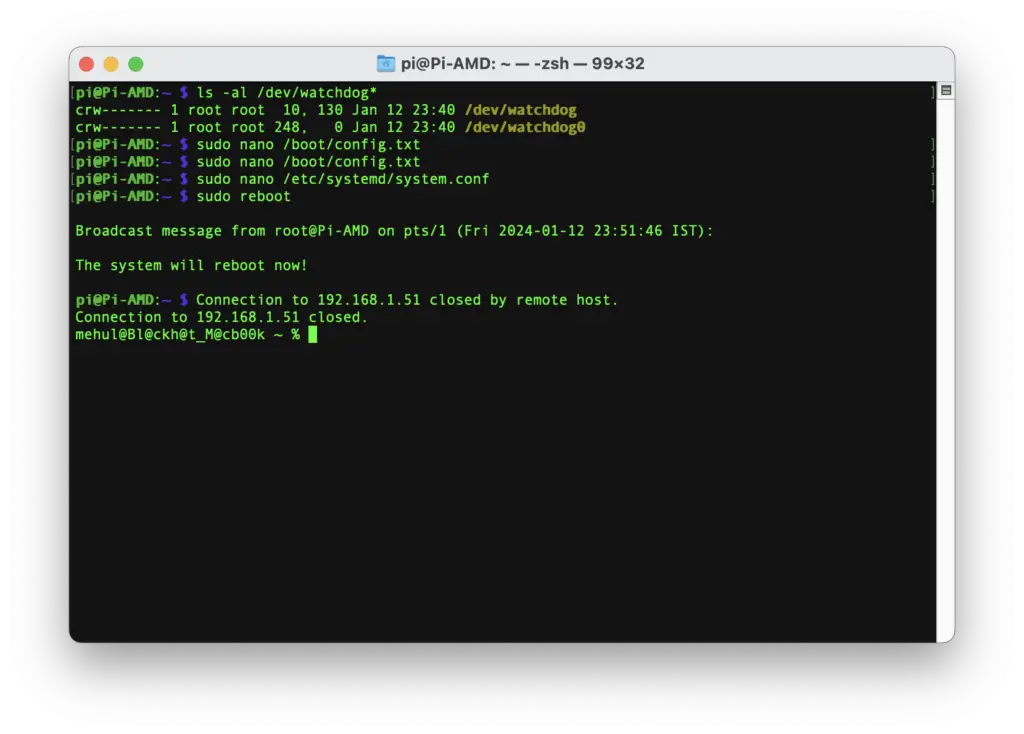
- Now you can check whether the watchdog is running using
dmesg | grep watchdog 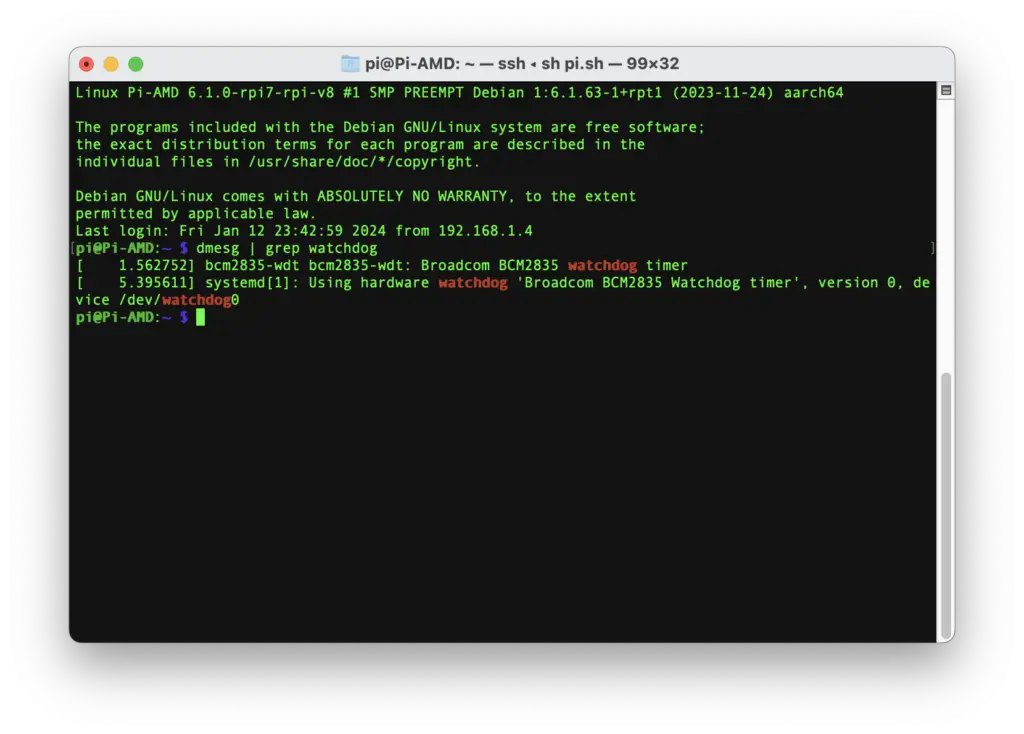
- If you are confident enough, you can manually create a kernel panic and check if the system reboots automatically.
sudo su
echo 1 > /proc/sys/kernel/sysrq
echo "c" > /proc/sysrq-trigger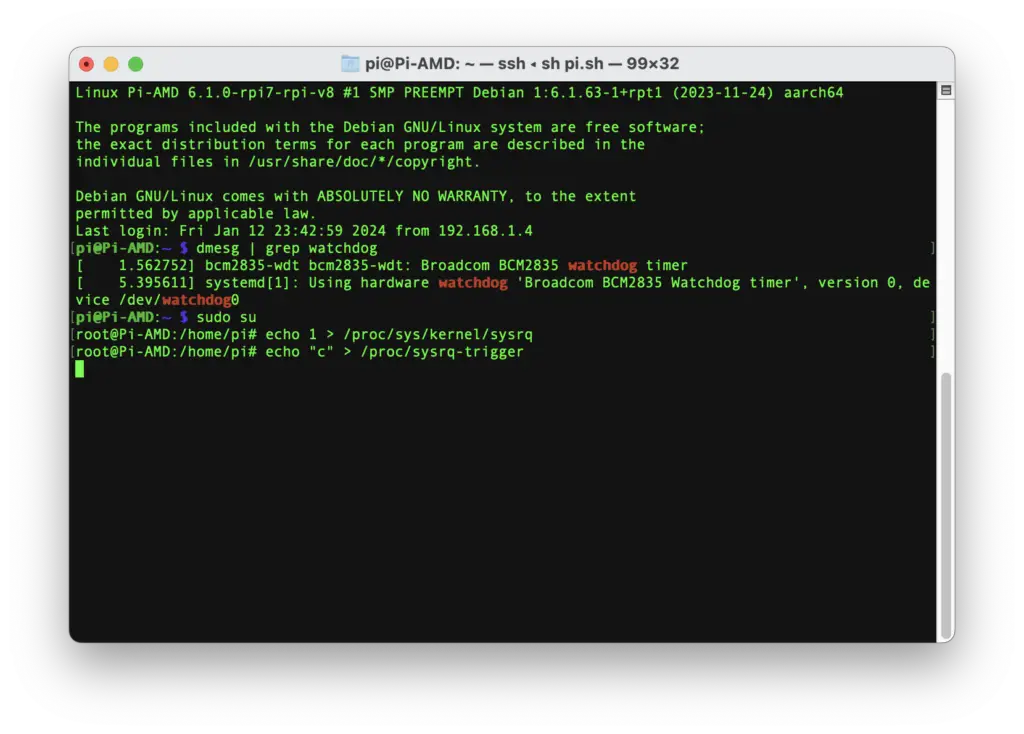
Steps to Enable Load-Based Watchdog on Raspberry Pi
Now, if you want to go a step further and reboot your Raspberry Pi if it exceeds a specific load limit, you can do it using the Linux watchdog software available in the repository.
Also read: How to Automatically Spin Down or Sleep HDD on Raspberry Pi
You can also integrate Hardware watchdog with this, but we prefer to use system.conf for that, and rightfully so. We recommend you do that, too!
- Install watchdog using the following command
sudo apt install watchdog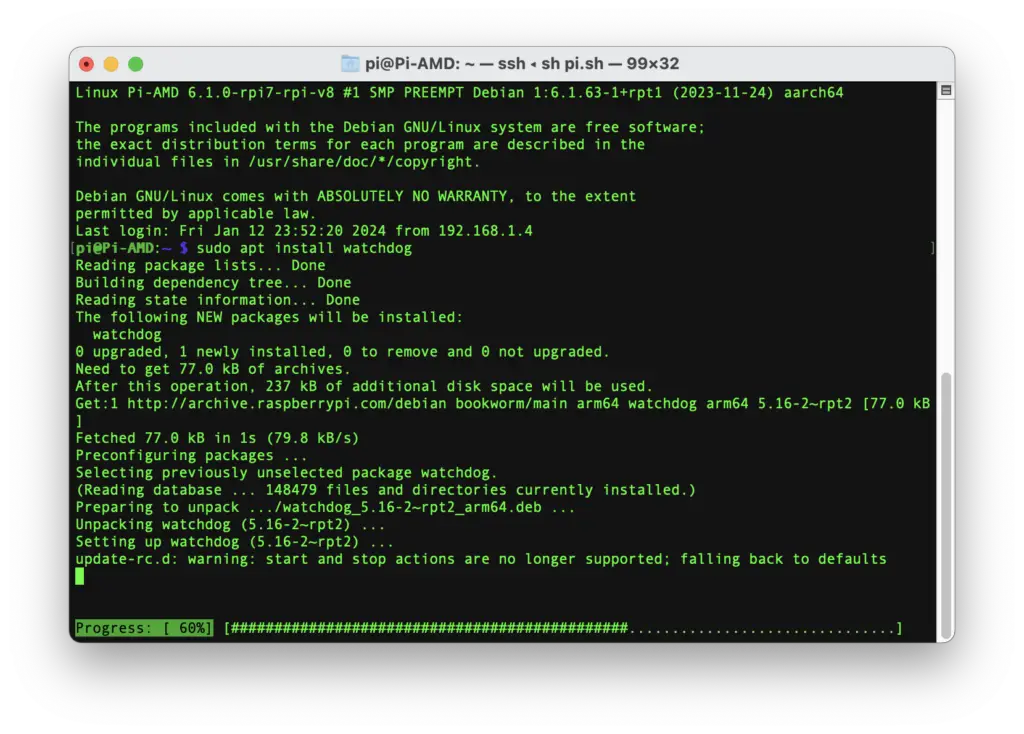
- Open watchdog.conf using
sudo nano /etc/watchdog.conf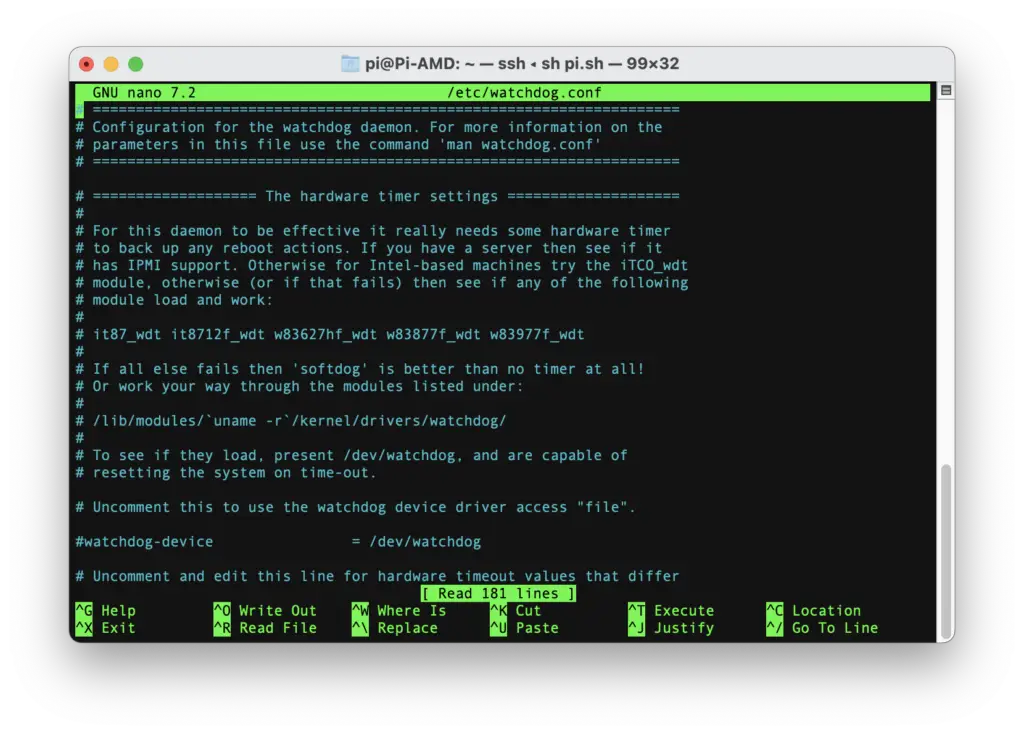
- Add/uncomment/edit the following line and save the file
max-load-1 = 12Here, max-load-1 means if the 1-minute system load exceeds 12, then the system will reboot. Adjust this value as per requirements, but don’t try to keep it too low. Similarly, you can set max-load-5 and max-load-15 for 5 & 15 minutes of system load, respectively. Refer to the watchdog.conf man page here.
- To enable the watchdog service, use the commands below
sudo systemctl enable watchdog
sudo systemctl start watchdog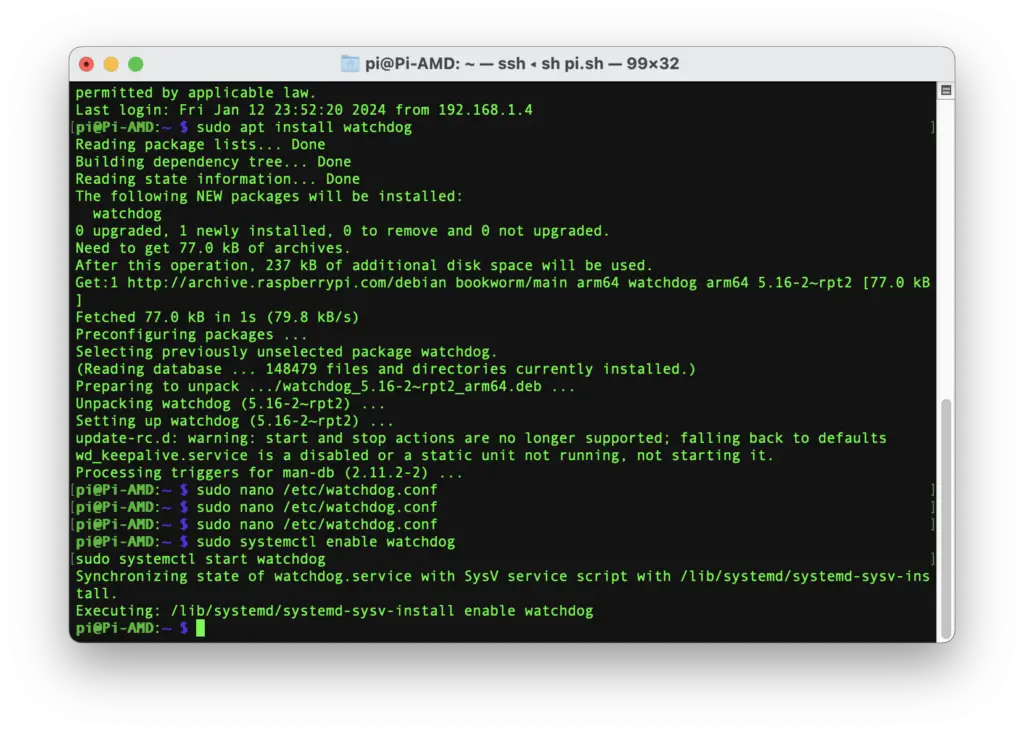
- Check the status of the watchdog using the following command
sudo systemctl status watchdog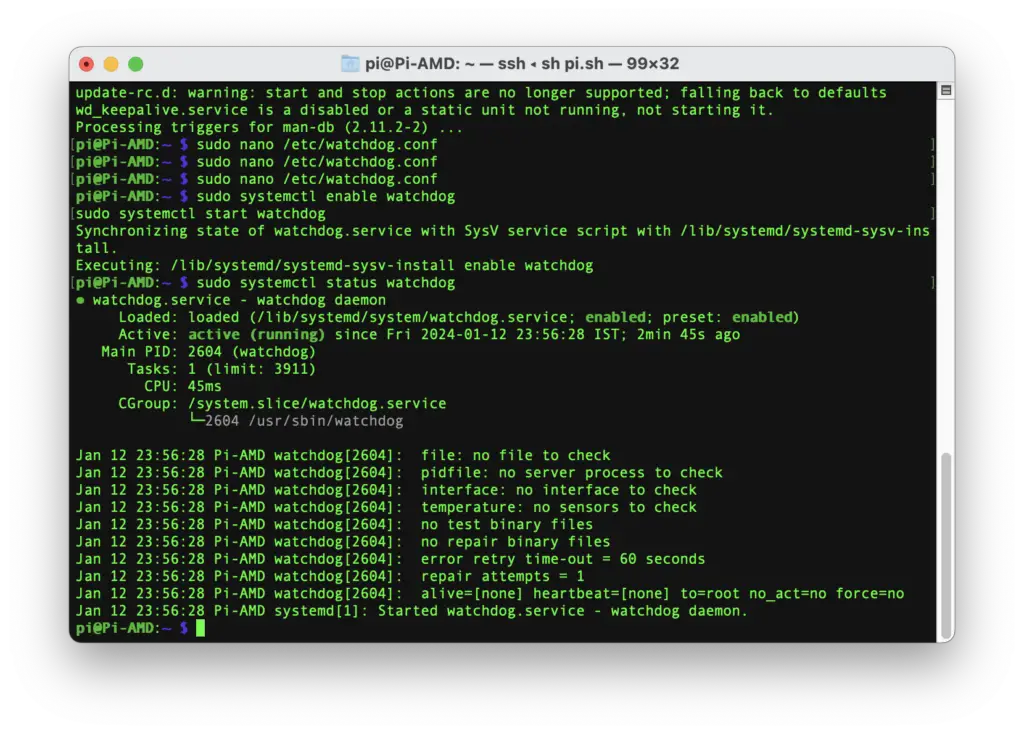
So that was all; now you have a 24*7 running Raspberry Pi with auto-healing & self-recovery mechanisms to make your remote server experience seamless.
