Most of us are well versed in using torrents to download software, movies, TV series, ebooks, and more. But have you ever wondered how these are shared in the first place and how to create torrent files to share any data? If yes, you are not the only one.
Before proceeding, let’s understand some of the basic facts first. When it comes to torrents, a seed is someone (a torrent client) that has all the pieces of the files shared using torrent, and a peer is the one who is connected and usually downloading from seeds or other peers. If you want to know more about how torrent works, let us know using the comment section so that we can dedicate an entire article to the working of a torrent.
Now that’s out of the way, let’s first understand why creating a torrent can be helpful in some situations. Allow me to share our use case with you guys.
Our Use Case – Multiple Raspberry Pi File Sharing
We have a smart home setup using Home Assistant (Running on Raspberry Pi 2B) in a home that is at a remote location. The only internet connection available there is mobile data, limited to 2.5GB/day. So, any activity, such as downloading or streaming, has to be used sparingly. We have 2 TVs that are connected to a miniDLNA server running on Raspberry Pi 2. We rely on this to stream content instead of directly using apps like YouTube or any other OTT service.
At our permanent residence, we also have a similar setup but with more storage and power using Raspberry Pi 4 & 5TB NAS and unlimited internet connection. It makes sense to download and verify the content at this location (due to limited data at the remote location) and then send it to the remote location. This introduces a new problem.
We have tried sending files by creating an HTTP Server, a self-hosted solution like Nextcloud, and other simple file-sharing methods. None of them could send files reliably due to sudden connection drops that may occur while using mobile data. The internet used to download partial content is already gone from our plan, and we cannot resume that partially downloaded file either. The only proper solution to mitigate this issue was torrents because of their reliability and flexibility. We can use torrents to download files partially; let’s say we download 50% today and the next 50% the next day. There is no issue.
And now, finally, the solution. Here, we will be using the Transmission Torrent client as it is one of the standard clients that works across a wide range of platforms and in low-power setups like Raspberry Pis. This can also be done with other Top Torrent clients like deluge, qbittorrent, utorrent, etc., but the steps may differ slightly.
Prerequisite
The first step while creating a torrent is to collect working trackers to provide the seed peer details while initiating the download. We recommend you collect at least one tracker URL; the more, the better.
A simple Google search for “Working Torrent Tracker List” will reveal many options. Select the ones that work best for you & your location.
How to Create Torrent Files using Transmission via Command Line
Command Line or CLI is the best and the only way to get things done if you are using a headless operating system on your device. We have used these steps to create torrent files on our Raspberry Pi 4 running Raspbian via Command Line.
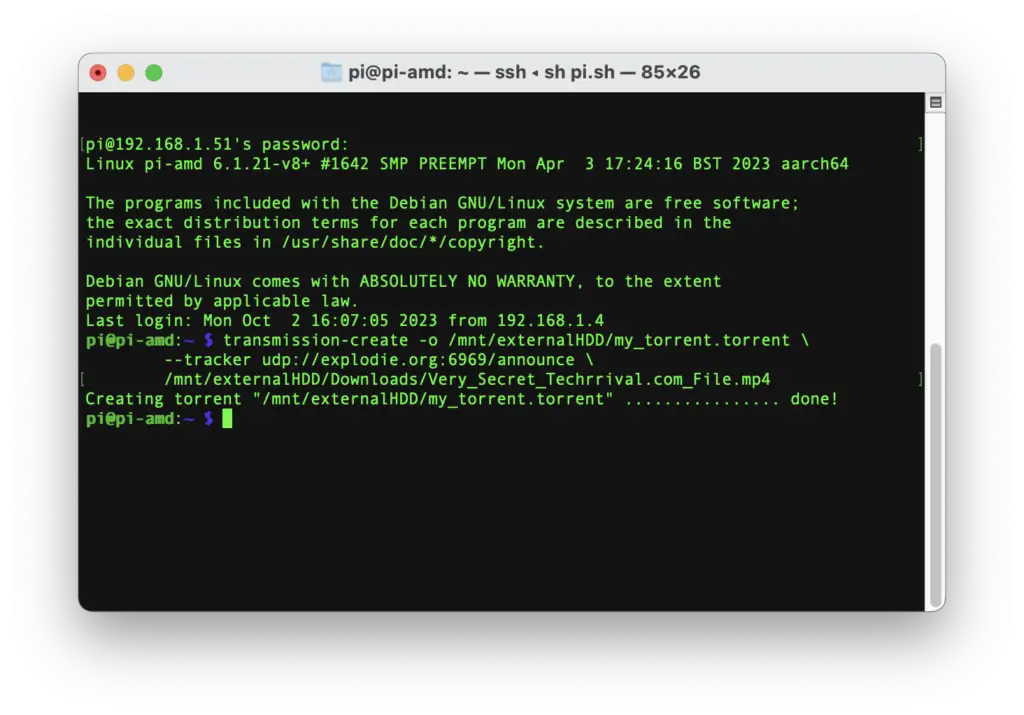
- Type the following command in the terminal:
transmission-create -o torrent_file_destination \
                             --tracker tracker_url_1 \
                             --tracker tracker_url_2 \
file_or_directory_to_be_added- Replace torrent_file_destination with the path to store the resultant .torrent file
- Replace tracker_url_* with tracker URLs; you can add as many as you like, minimum 1 required
- Replace file_or_directory_to_be_added with the path to the file or directory you want to add torrent to
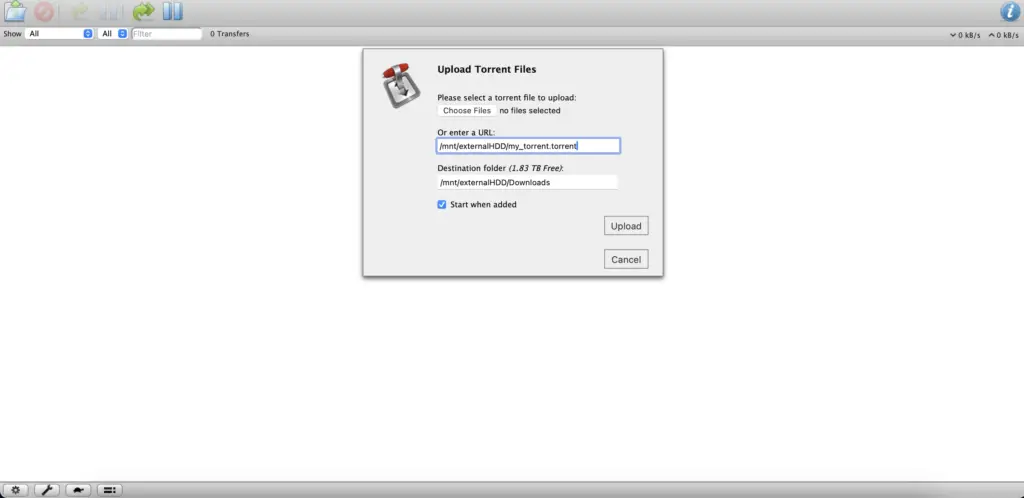
- We already had transmission-web-ui setup on this server, so head to the transmission web interface.
- Tap the upload button in the URL section, enter the “torrent_file_destination” path you entered earlier, and tap upload.
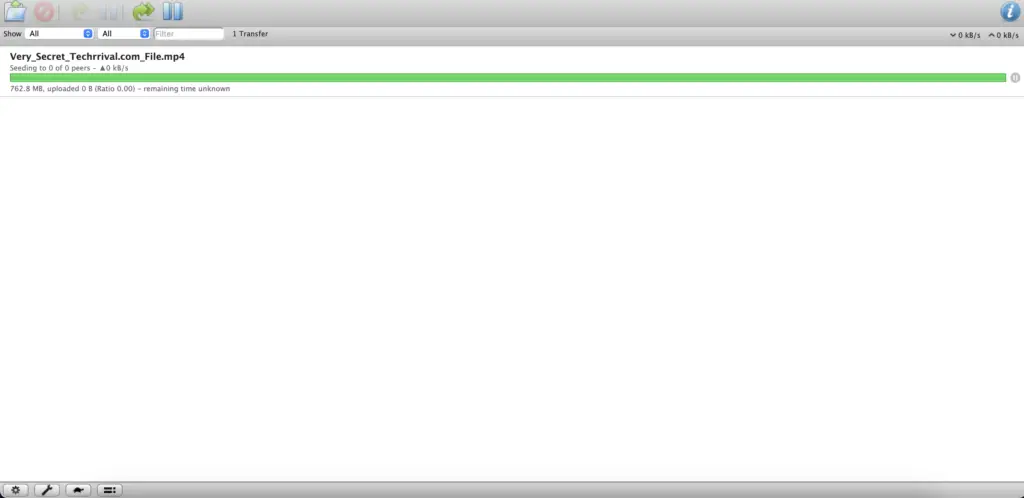
- Now, after the integrity check, your torrent will start seeding.
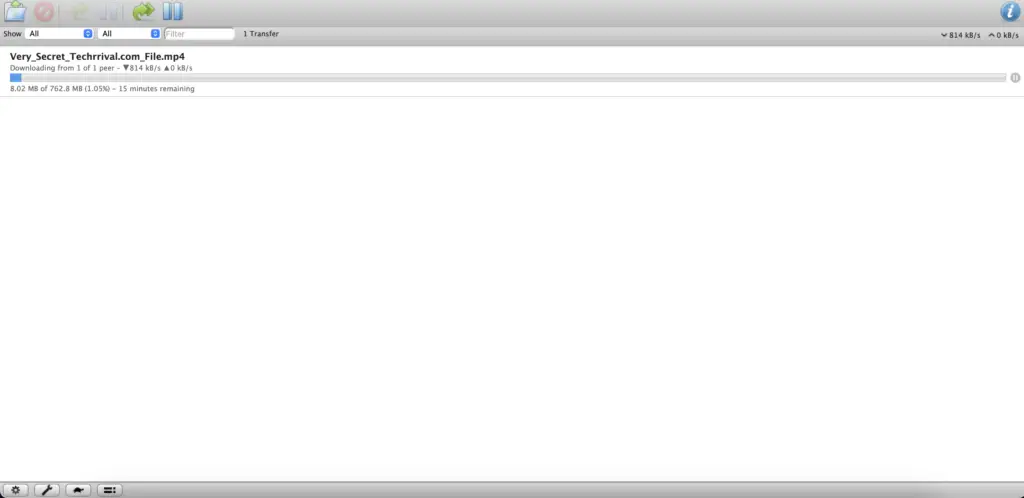
- You can add this generated torrent file to the destination torrent client. Just ensure that seeding is done from this source until the download is complete at the destination.
You can learn more about transmission-create command using the man page here.
How to Create Torrent Files using Transmission via GUI
In case you have a full-fledged operating system with GUI, it is far less complicated than the Command Line.
- Open Transmission GUI on your device (Windows, Linux or Mac).
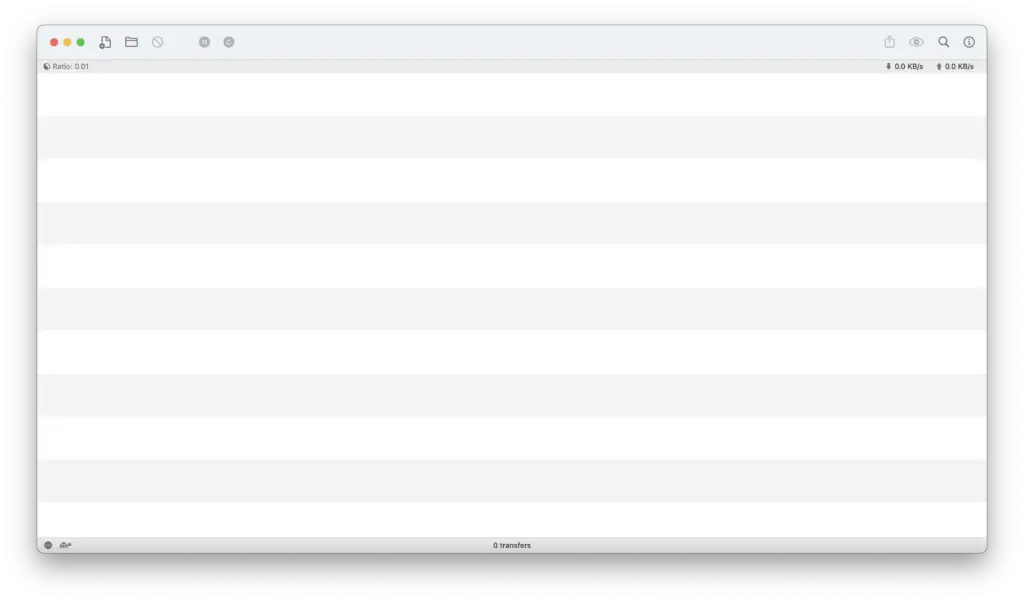
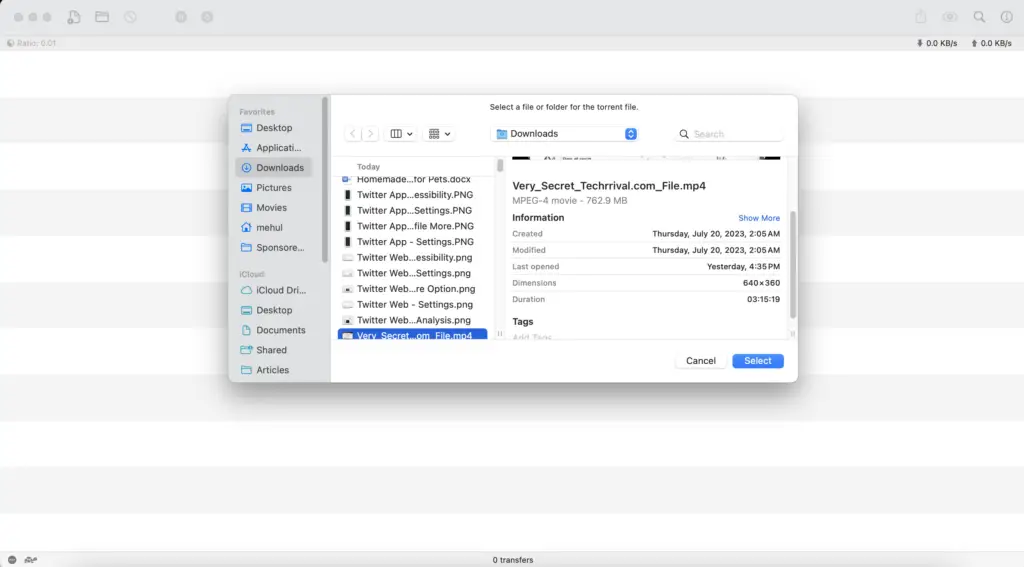
- Select File -> Create Torrent File. Choose the File or Directory that you want to create a torrent for.
- Add the trackers we collected earlier using the ‘+’ sign and, tick the checkbox next to ‘open when created’ and hit create.
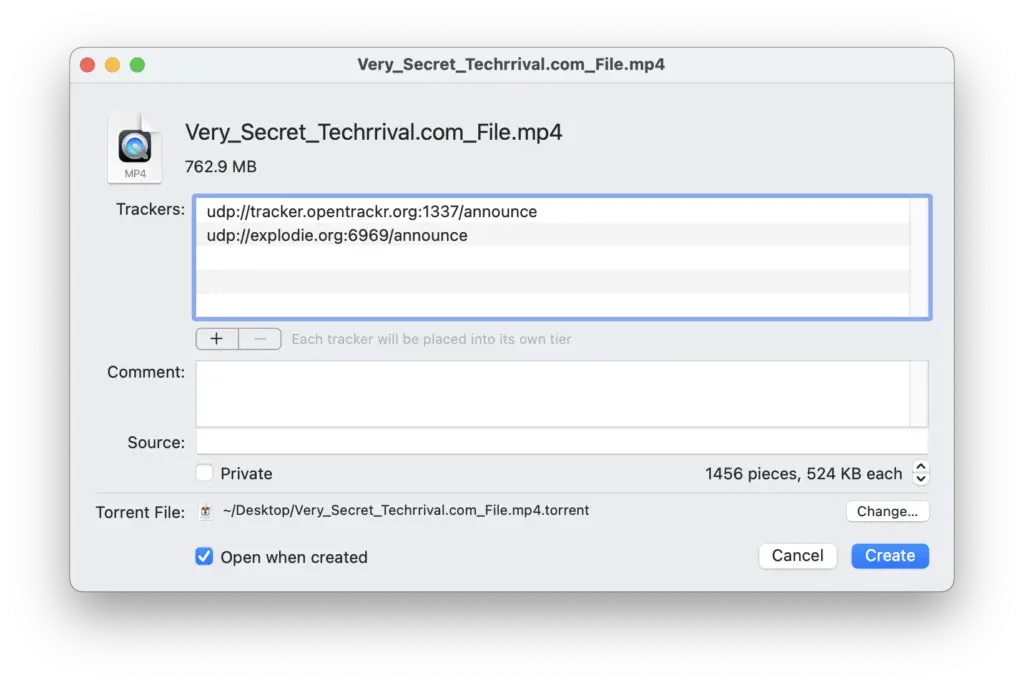
- The torrent file will be created, usually on the desktop.
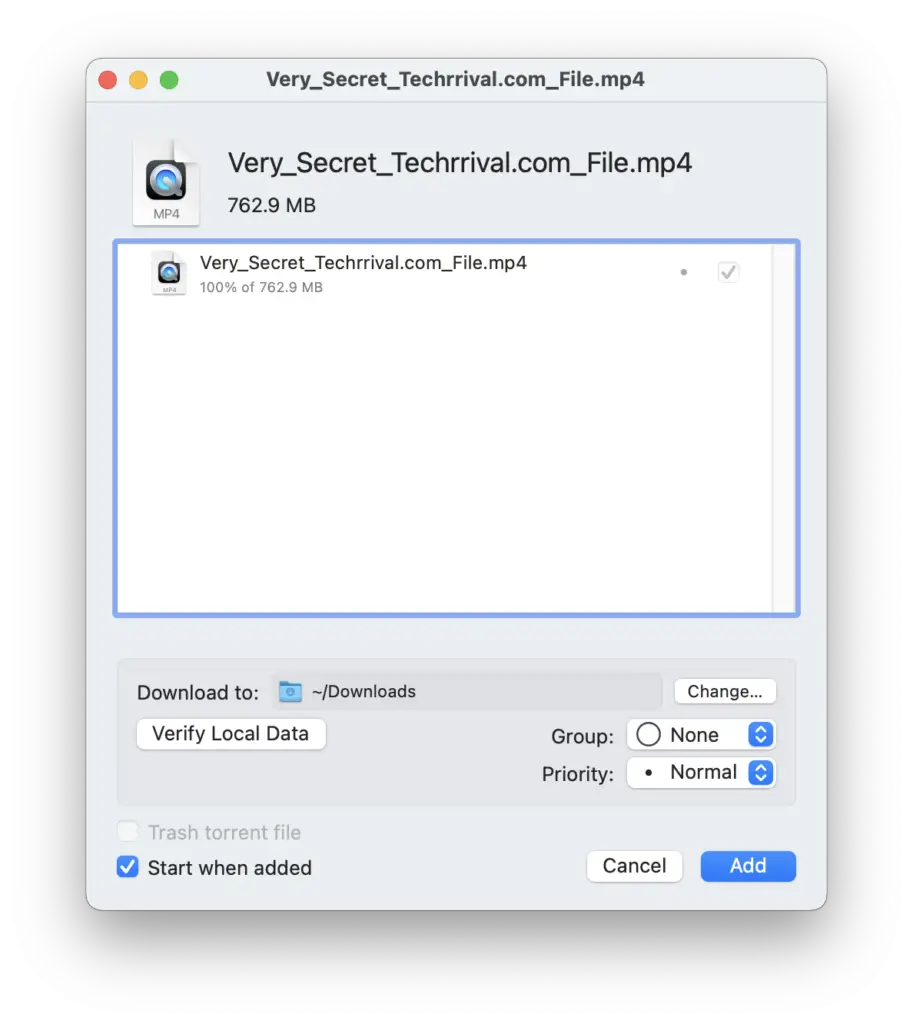
- Tap Add to start seeding the torrent.
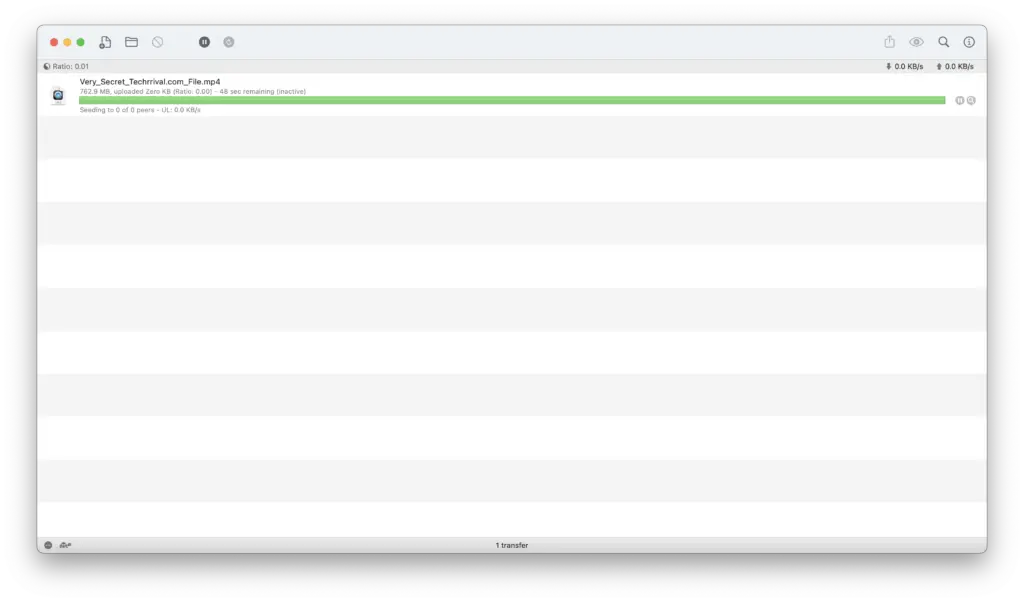
- Copy the torrent file to the destination device and add the torrent as we did in the earlier section.

Also read: 10 Best Torrent Sites of This Year
Frequently Asked Questions (FAQs)
Why is My Torrent unable to Find Any Seeds and is stuck at Downloading?
Usually, the culprit is the tracker; try using different multiple trackers to resolve this issue. Also, ensure that the seeding is enabled at the source device.
